

Researched overview. This guide is based on published dermatology and eye-care guidance, not on hands-on product testing by BeautyKob. No product in this guide was tested by us, and no brand is recommended.
Table Of Content
- Quick answer
- How skin changes after 40
- Prepping mature skin before makeup
- Step 1: Gentle cleansing that respects the barrier
- Step 2: Plumping with hyaluronic acid and glycerin
- Step 3: Deep barrier conditioning with ceramides
- Step 4: Broad-spectrum dewy sunscreen
- Step 5: Hydrating primer over mattifying formulas
- Choosing foundation for mature skin
- What to look for in foundation formulas
- The damp sponge application technique
- Under-eye concealing: pinpoint placement without creasing
- Step 1: Prep the eye contour
- Step 2: Use colour correction for dark hollows
- Step 3: Pinpoint application
- Lifting the face: cream blush, brows and subtle eye definition
- Cream blush: place high for a lift
- Framing the face with soft, feathery brows
- Eyeshadow and eyeliner: soft satins over harsh lines
- Defining the lips: preventing feathering and restoring fullness
- Setting techniques that will not settle into wrinkles
- Step-by-step routine: natural makeup for women over 40
- Common mistakes to avoid on mature skin
- Patch test
- Summary
- FAQ
- Q1: What is the best type of foundation for mature skin with wrinkles?
- Q2: How do I stop foundation from settling into smile lines and forehead creases?
- Q3: Should women over 40 stop using powder?
- Q4: Why does my under-eye concealer look cakey and crepey?
- Q5: Can women over 40 wear shimmer eyeshadow?
- More makeup guides
Quick answer
Makeup on mature skin works best when it is lighter, not heavier: hydrate the skin first, use a sheer serum foundation or skin tint, place a tiny dot of concealer only where it is needed, use cream blush and colour placed high, and set with powder only on the spots that shine. Heavy, matte, full-coverage makeup settles into lines and emphasises texture; thin, flexible layers do not.
If your skin is red, sore, or has open sores or a rash, skip makeup on the affected area and ask a dermatologist or pharmacist first. Stop using any product that stings, burns, or causes redness or swelling. This guide is general information, not medical advice.
Contents: How skin changes after 40 · Prepping mature skin · Choosing foundation · The damp sponge technique · Under-eye concealing · Cream blush, brows and eyes · Lips · Setting · Step-by-step routine · Common mistakes · Patch test · FAQ
How skin changes after 40
Beginning in the late thirties and continuing through the forties and fifties, skin changes in a few predictable ways:
- Less sebum: Sebaceous glands slow down, which reduces breakouts but leaves the outer skin barrier drier and more prone to dehydration.
- Gradual collagen decline: The body makes less collagen with age. This reduces dermal thickness and skin elasticity, so skin does not bounce back as quickly when facial muscles move.
- Thinner skin around the eyes: The skin surrounding the eyes is already the thinnest on the body, and it becomes more delicate with age. Heavy, dry cosmetics placed here crack into crow’s feet and under-eye hollows.
- Slower cell turnover: Natural exfoliation slows, allowing dull, dead skin cells to accumulate on the surface. Makeup applied over unconditioned, uneven skin grabs patchily and looks dull.
The aim is not to construct a matte barrier over your face. It is to feed your skin barrier with moisture, choose flexible liquid and cream formulas, and let your natural skin show through.
Prepping mature skin before makeup
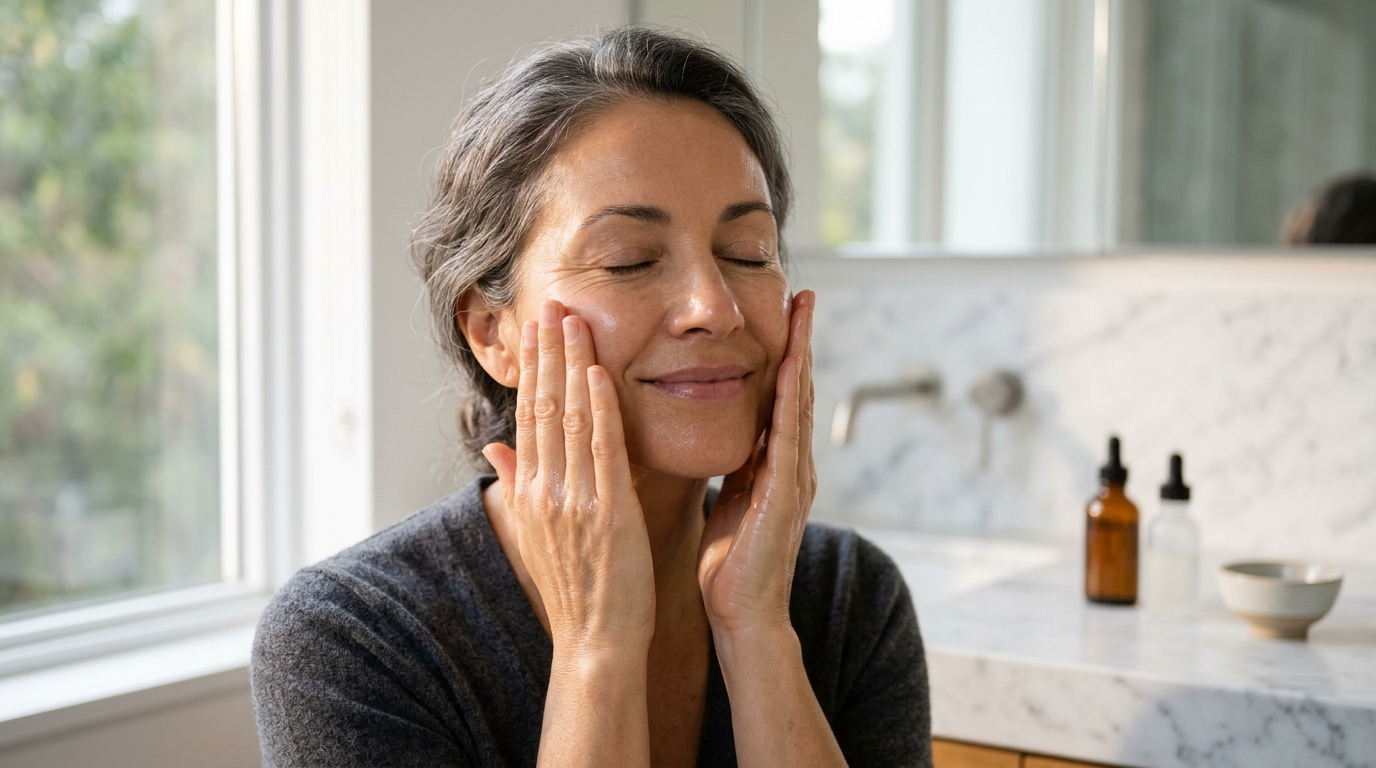 No makeup application looks radiant on thirsty, unprepared skin. Thoughtful skincare prep is where the result actually begins.
Step 1: Gentle cleansing that respects the barrier
Start your morning with a creamy, non-foaming cleanser or a simple lukewarm water rinse. Foaming gel cleansers can strip away the few remaining natural lipids mature skin produces, causing immediate tightness. Lukewarm water removes overnight residue while keeping the skin’s moisture intact.
Step 2: Plumping with hyaluronic acid and glycerin
Apply a water-based hydrating serum with hyaluronic acid and glycerin onto freshly dampened skin. Hyaluronic acid draws moisture into surface skin cells, which can make superficial fine lines look less noticeable for a while. Press the serum into your skin using upward motions across your forehead, cheeks and neck.
Step 3: Deep barrier conditioning with ceramides
Follow your serum immediately with a lipid-rich moisturiser with ceramides and squalane. Ceramides seal in the hydration you just applied. Peptides are often included in these moisturisers, but the evidence that they firm skin or rebuild the barrier is thin — treat them as an optional extra, not the reason to buy the product.
Use about a nickel-sized amount and massage it gently into your face. Allow your moisturiser three to five full minutes to absorb before applying cosmetic products. Foundation applied over wet moisturiser tends to slide around and separate.
Step 4: Broad-spectrum dewy sunscreen
Daily sun protection is the most effective skincare step you can take. UV rays break down collagen and worsen hyperpigmentation and age spots, and daily sunscreen use has been shown to slow visible skin ageing (Hughes et al. 2013).
Choose a broad-spectrum sunscreen with SPF 30 or higher and a dewy, moisturising finish. Modern fluid mineral sunscreens containing zinc oxide and squalane provide daily protection while leaving a soft, luminous sheen that acts as a natural primer. Reapply every two hours when you are outdoors.
Step 5: Hydrating primer over mattifying formulas
If you use a primer, steer clear of silicone-heavy mattifying formulas designed to dry down oil. These create a dry layer that makes foundation look flat. Instead, choose a light, water-based gripping primer or an illuminating lotion with niacinamide and light-reflecting pigments. Apply it across the high points of your face.
Choosing foundation for mature skin
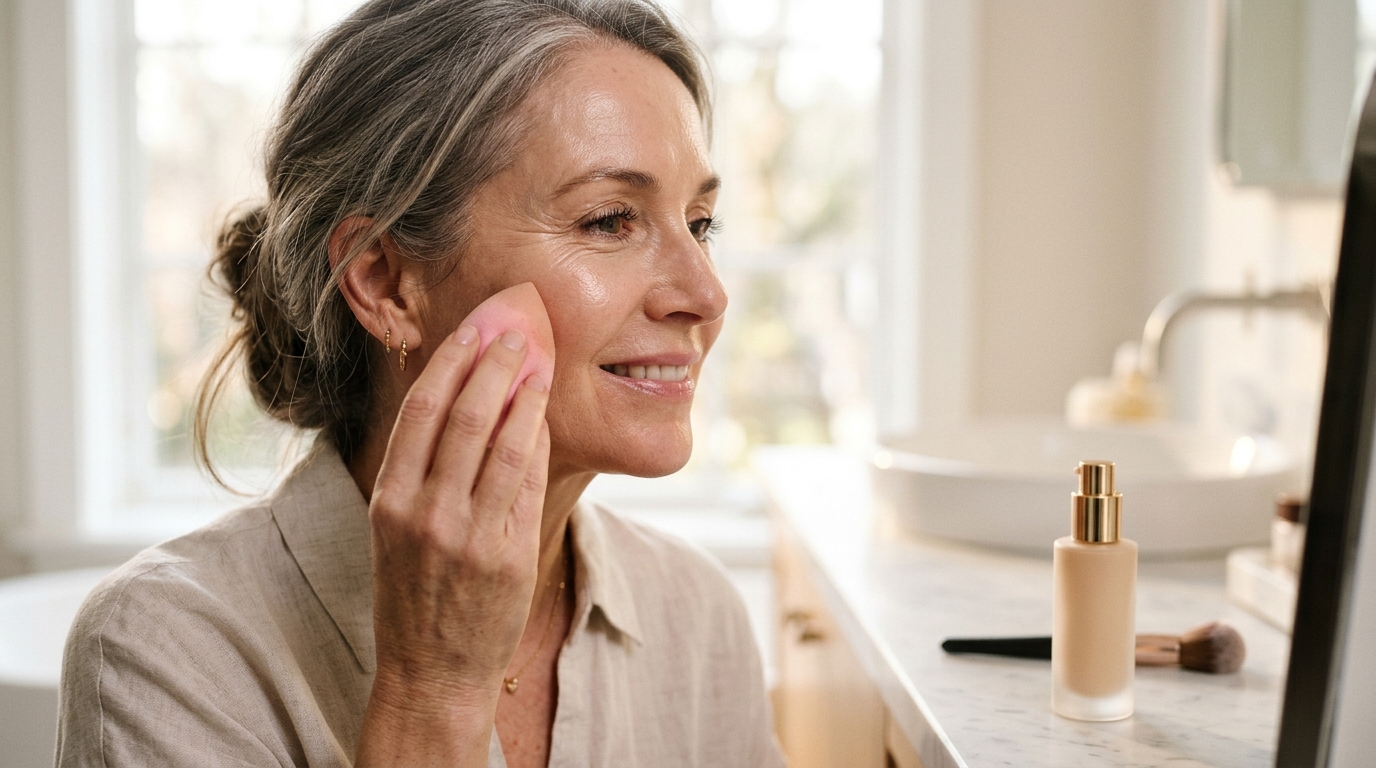 The biggest mistake on mature skin is using heavy foundation to cover age spots, redness or wrinkles. Heavy foundation does the opposite: it sinks into fine lines, sits like a mask, and emphasises the very texture you want to soften.
What to look for in foundation formulas
Your main criteria should be emollience, flexibility and light reflection:
- Serum foundations and skin tints: Colour pigments blended with hydrating skincare ingredients like squalane, hyaluronic acid and plant seed oils. They offer sheer-to-medium buildable coverage that moves with your facial expressions without cracking.
- Radiant or satin finishes: Matte foundations absorb light, which emphasises hollows and draws attention to texture. Radiant finishes bounce light away from fine lines, optically softening their appearance.
- Avoid powder foundations: Mineral and pressed powder foundations absorb natural oils throughout the day, leaving mature skin looking chalky and dry after a few hours.
The damp sponge application technique
How you apply your base matters as much as the bottle you select. Avoid stiff foundation brushes, whose bristles can sweep up dry flakes and leave harsh streaks.
A damp beauty sponge is usually the better tool for mature skin:
- Wet your makeup sponge with warm water and squeeze out all excess moisture in a clean towel until it is soft and slightly damp.
- Dispense a single pump of liquid foundation onto the back of your hand.
- Dip the rounded base of the sponge into the foundation and gently bounce — never drag — the sponge across the centre of your face where redness is concentrated.
- Work outward toward the hairline and jawline in feather-light pressing motions. Bouncing stamps a micro-thin, even veil of pigment onto the skin.
- Sheer out the coverage as you reach areas with active expression lines, such as crow’s feet and forehead furrows. The less product resting in those creases, the less there is to settle and bunch.
Under-eye concealing: pinpoint placement without creasing
The under-eye area is often where mature makeup goes wrong. Thick, dry concealers layered across the entire lower lid create a dry, crepey effect.
Step 1: Prep the eye contour
Before touching concealer, apply a tiny bead of eye cream along the orbital bone. Allow it two minutes to sink in so the skin feels supple and cushioned.
Step 2: Use colour correction for dark hollows
If you have prominent blue or purple dark circles, do not try to overpower them with layers of thick, pale concealer. Instead, use a peachy or salmon-toned colour corrector. A sheer wash of peach neutralises blue-purple shadows on fair-to-medium skin, while warm terracotta neutralises darkness on deep skin. Because the corrector neutralises the discolouration, you need far less concealer on top.
Step 3: Pinpoint application
Select a lightweight, radiant serum concealer that matches your facial skin tone — avoid shades that are two shades too light, which create an artificial, ghostly half-moon under your eyes.
Place just one small dot of concealer in the inner hollow beside your tear duct (where discolouration is deepest) and a second tiny dot at the outer corner of the eye angled upward toward the temple. Use the tip of your ring finger or a soft, damp mini-sponge to blend. Leave the delicate area directly below your lower lash line virtually product-free.
Lifting the face: cream blush, brows and subtle eye definition
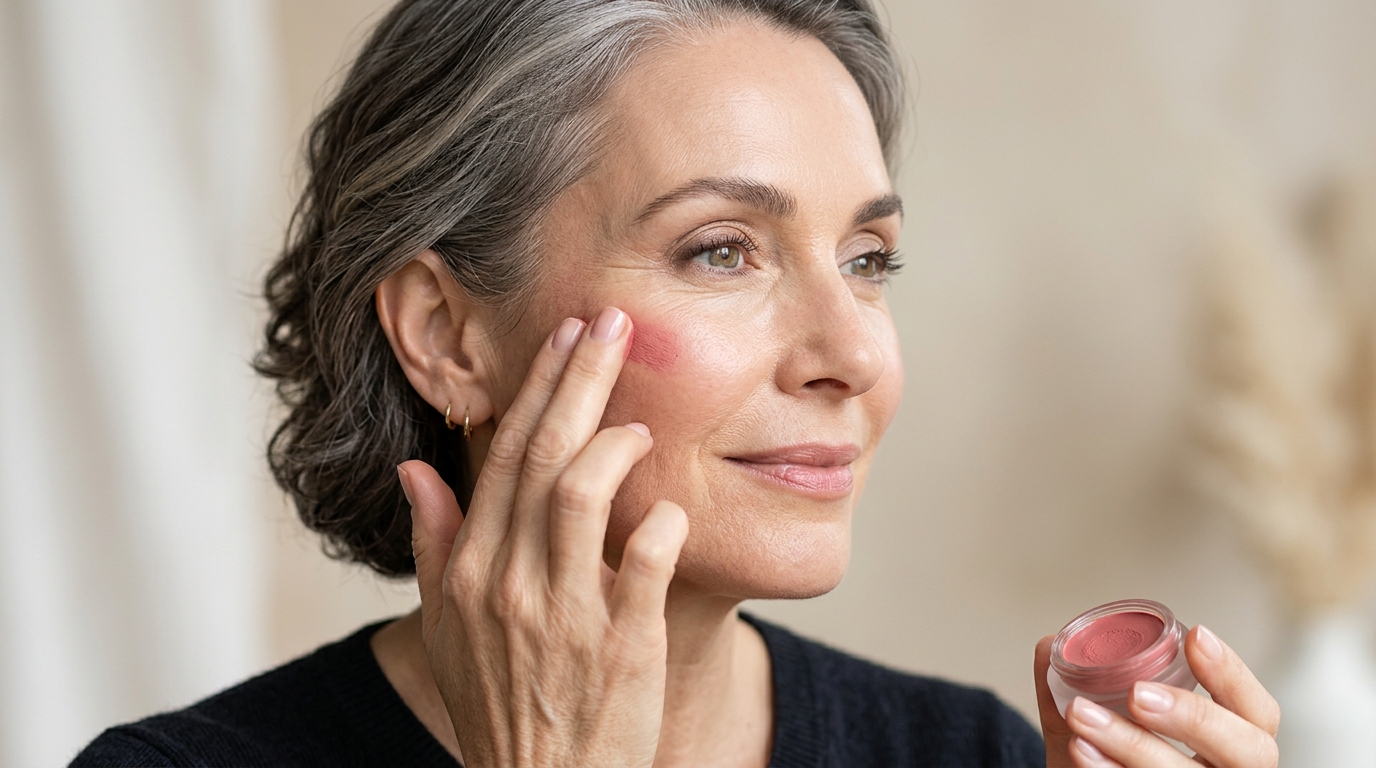 As we mature, facial fat pads subtly shift downward, and contrast in our features naturally softens. Strategic placement of colour and definition restores warmth and creates an optical lift.
Cream blush: place high for a lift
A traditional tip was to smile and apply blush directly to the apples of your cheeks. For mature skin, this can work against you: when your face relaxes, those apples drop downward, dragging the whole face down with them.
Instead, apply your blush with an upward focus:
- Choose a warm cream or liquid blush in a soft rose, warm peach or berry tone. Cream blushes melt into foundation, providing a healthy flush.
- Dab the cream onto the highest point of your cheekbone, right above the pupil, and blend upward and back toward the hairline and temple.
- This diagonal placement draws the eye upward, giving the whole face a lifted look.
Framing the face with soft, feathery brows
Brows naturally thin, fade or lose tail definition over time. Well-groomed brows instantly frame your eyes and restore structure.
Avoid harsh, dark brow pomades or heavy blocky pencils that create severe lines. Instead:
- Choose a micro-fine brow pencil one shade lighter than your natural hair colour (soft taupe, cool blonde or warm grey).
- Use light, upward, feathery strokes to fill in sparse gaps, focusing on defining the arch and slightly extending the outer tail.
- Finish with a tinted brow gel brushed upward to hold hairs in place.
Eyeshadow and eyeliner: soft satins over harsh lines
Eyelids lose elasticity over forty, creating natural folds and hooding. Heavy black liquid liner and chunky glitter shadows catch on creased skin and exaggerate texture.
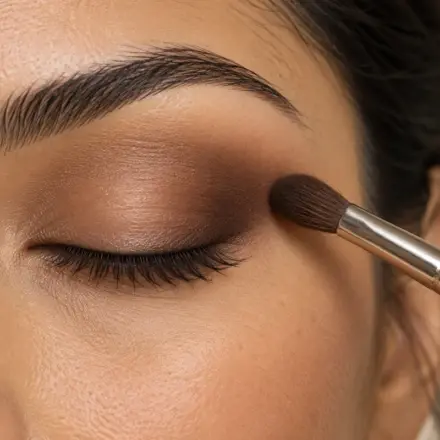
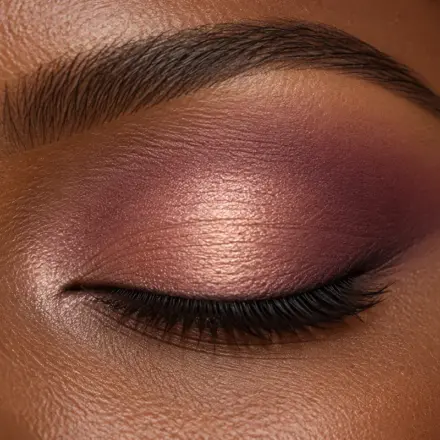
- Stick to warm neutral satins: Matte shadows can sometimes look dry, while glitter emphasises crepey lids. Satin-finish eyeshadows in warm taupe, soft caramel and champagne reflect gentle light and glide over textured skin smoothly.
- Blend shadows above the crease: If your eyelids are slightly hooded, apply your mid-tone crease shade slightly above your natural crease while looking straight into the mirror with your eyes open. This keeps your eye colour visible.
- Switch to brown or plum gel liners: Black liquid eyeliner can look harsh against mature skin. Swap it for a deep chocolate brown, espresso or plum gel pencil. Line closely along the upper lash roots, then use a small smudge brush to soften the edge.
- Curl your lashes: An eyelash curler is a useful lifting tool. Gently clamp at the base of your lashes for five seconds before applying mascara. Finish with one or two coats of a defining, non-clumping mascara. Replace mascara regularly: the FDA advises discarding mascara about three months after purchase, and the American Academy of Ophthalmology recommends throwing away eye makeup after three months. Never add water or saliva to dried mascara, and never share eye makeup.
Defining the lips: preventing feathering and restoring fullness
Natural lip volume decreases with age, and vertical lines (often called barcode lines) can cause lipsticks to bleed and feather into surrounding skin.
- Hydrate: Dab a nourishing lip balm containing shea butter or hyaluronic acid onto your lips during skincare prep. Blot off any excess right before makeup application. For sun protection, use a lip balm with SPF 30 or higher before going outdoors, and reapply every two hours and after eating or drinking.
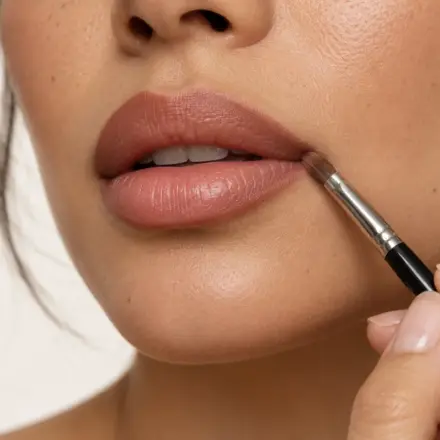
- Neutral lip liner: Trace your natural lip line using a waterproof lip liner that matches your natural lip colour rather than your lipstick. Lightly sketch just on the outer vermilion border of the lip to softly enhance fullness. The wax in waterproof liner helps stop lipstick from migrating into vertical lines.
- Creamy lip colour: Avoid ultra-matte liquid lipsticks, which dry out lips and emphasise vertical wrinkles. Choose a hydrating satin lipstick, a tinted lip oil or a moisturising lip gloss.
- Highlight the centre: Dab a tiny dot of a lighter gloss right in the centre of your lower lip to create the impression of fuller lips.
Setting techniques that will not settle into wrinkles
One of the greatest fears for mature skin is powder. Traditional loose powder blankets the face, robs it of life, and finds its way into fine lines. You can still set your makeup effectively without losing radiance:
- Ditch the powder puff: Never use a large velour puff to pack powder onto mature skin.
- Use a small fluffy brush: Dip a small, fluffy eyeshadow blending brush into a micro-fine, silica-based translucent setting powder. Tap off almost all of it on the back of your hand.
- Targeted application only: Lightly press the brush only on areas prone to shine — the sides of the nose, between the eyebrows, and the centre of the chin. Leave the cheeks, under-eyes and forehead completely powder-free.
- Seal with a dewy setting spray: Mist your face with a hydrating setting spray infused with glycerin or rosewater. The fine mist melts cream and liquid layers together and removes any powdery texture. A setting spray helps makeup last longer; it does not make it waterproof or smudge-proof.
Step-by-step routine: natural makeup for women over 40
| Step | Technique | Formula | Benefit |
|---|---|---|---|
| 1. Prep | Press into skin on a damp face | Hyaluronic acid serum + ceramide cream | Hydrates and smooths the surface |
| 2. Protect | Massage across face and neck | Dewy broad-spectrum SPF 30+ | Shields skin and leaves radiance |
| 3. Base | Bounce with a damp makeup sponge | Serum foundation or skin tint | Sheer, flexible coverage that will not crease |
| 4. Conceal | Tap one dot on the inner corner only | Radiant serum-infused concealer | Brightens dark hollows without caking |
| 5. Blush | Blend high along the upper cheekbone | Hydrating cream blush (rose/peach) | Creates an optical cheekbone lift |
| 6. Brows | Light upward feathery strokes | Micro-fine pencil + tinted gel | Restores arch and facial structure |
| 7. Eyes | Soft satin shadow + smudged brown liner | Satin neutral palette + gel pencil | Defines eyes without harsh edges |
| 8. Lips | Define the outer border and fill with cream | Waterproof lip liner + satin lipstick | Helps prevent feathering |
| 9. Set | Mist in a circular motion | Glycerin-based hydrating setting spray | Melts layers into a dewy, skin-like glow |
Common mistakes to avoid on mature skin
- Applying thick foundation over wrinkles: Trying to hide wrinkles under heavy makeup only highlights them. Wrinkles move; makeup does not. Less product in expressive zones means less creasing.
- Using matte or frosty eyeshadows: Extremely chalky matte shadows make eyelids look parched, while high-frost metallic shadows settle into crepey folds. Stick with soft satins.
- Skipping lip liner: Applying creamy lipstick directly onto mature lips without a liner barrier makes feathering more likely.
- Drawing heavy, dark brows: Stencilled, dark brows look severe against softening features. Keep brow strokes light and natural.
- Over-powdering under the eyes: Baking with loose powder under mature eyes turns natural laugh lines into deep cracks. Keep powder away from the eye contour entirely.
Patch test
Before using a new makeup or skincare product more widely, patch test it: apply a small amount to the underside of your arm or the bend of your elbow, twice a day, for 7 to 10 days. If you get redness, itching, swelling or a rash, stop using it. A 24-hour test can miss an allergic reaction, which often takes several days to appear — that is why this guide uses the AAD 7–10 day patch-test method. This is the American Academy of Dermatology’s patch-test method.
Summary
Makeup on mature skin is about working with your skin’s texture rather than fighting it. Hydrate first, use sheer luminous bases in thin layers with a damp sponge, place cream colour high, conceal with pinpoint dots, and set with powder only where you shine. Give the routine a full week before judging it. No product in this guide was tested by us, and no brand is recommended.
FAQ
Q1: What is the best type of foundation for mature skin with wrinkles?
A lightweight serum foundation or hydrating skin tint made with hyaluronic acid, squalane or glycerin. These formulas offer flexible, light-to-medium coverage with a satin or radiant finish. They move with your facial expressions rather than settling into fine lines.
Q2: How do I stop foundation from settling into smile lines and forehead creases?
Use as little product as possible in those areas. After applying foundation with a damp sponge, take the clean, unproduct-coated side of the sponge and gently blot over your smile lines and forehead to remove excess pigment. If product is not sitting in the crease, it cannot bunch or crack.
Q3: Should women over 40 stop using powder?
You do not have to eliminate powder completely, but avoid dusting it all over your face. Use a micro-fine, silica-based translucent powder sparingly with a small, fluffy eyeshadow brush, pressing it only into areas prone to shine like the sides of the nose or chin. Keep your cheeks and under-eyes powder-free.
Q4: Why does my under-eye concealer look cakey and crepey?
Under-eye concealer looks cakey on mature skin when the formula is too thick, too matte, or set with heavy powder. Switch to a hydrating serum concealer with a radiant finish, apply only a pinpoint dot in the inner tear trough, blend with the warmth of your fingertip, and skip powder baking completely.
Q5: Can women over 40 wear shimmer eyeshadow?
Yes, but formula texture matters. Avoid chunky glitters or high-metallic frost eyeshadows, which sit in the folds of crepey eyelids and exaggerate texture. Instead, choose soft, finely milled satin eyeshadows. A gentle champagne or warm taupe satin applied across the mobile lid reflects light and brightens mature eyes.
More makeup guides
- Makeup Tips for Dry Skin
- How to Choose the Right Foundation for Your Skin Tone
- How to Create a Natural Makeup Look for Everyday Wear
Sources: AAD sunscreen guidance (broad-spectrum SPF 30 or higher, reapply every two hours outdoors; lip balm with SPF 30 or higher, reapply every two hours and after eating or drinking); AAD patch-test method; Hughes et al. 2013 (daily sunscreen use and skin ageing); AAD dry-skin guidance (moisturise on damp skin, fragrance-free creams over lotions); FDA guidance on eye cosmetics (discard mascara about three months after purchase; never add water or saliva to dried mascara); American Academy of Ophthalmology guidance on eye makeup (discard eye makeup after three months). This is a researched overview, not a hands-on review.