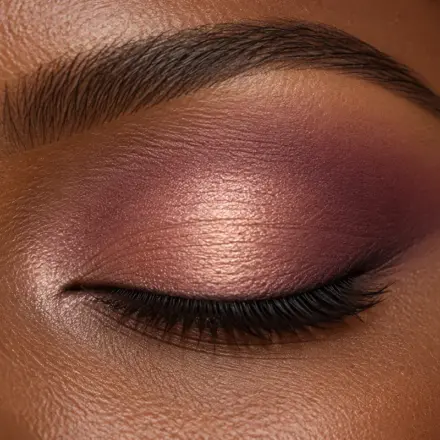

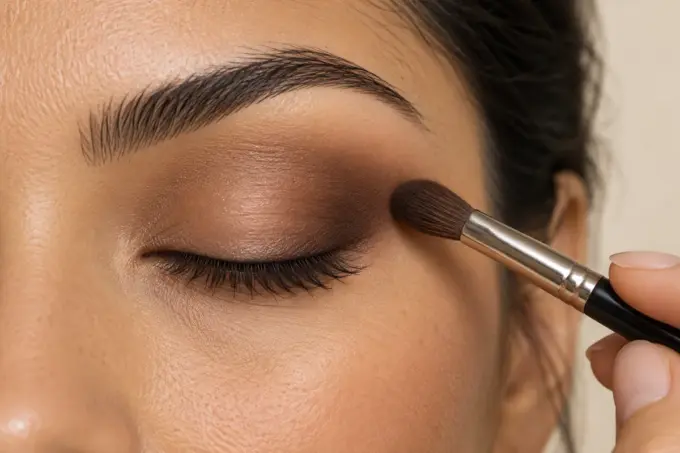
Researched overview. This guide is based on published safety guidance and makeup technique, not on hands-on product testing by BeautyKob. No product in this guide was tested by us, and no brand is recommended.
Table Of Content
- Quick answer
- Choose a purple palette with a clear job for each shade
- Keep the tool kit small
- Purple smokey eye in six controlled steps
- 1. Prepare an even, comfortable lid
- 2. Sketch the outer boundary with eyes open
- 3. Press the main purple onto the lid
- 4. Blend the boundary, not the entire lid
- 5. Add depth close to the outer lashes
- 6. Choose a light or defined finish
- Four purple combinations to adapt
- Muted mauve and plum
- Violet with a neutral-brown edge
- Lilac center and eggplant outer corner
- Berry-purple evening eye
- Fix the problem you can see
- Help the look hold
- Purple smokey eye for daytime, evening, and photos
- For daytime
- For evening
- For photos
- Mistakes to avoid with a purple smokey eye
- Eye safety
- Sunscreen under makeup
- Patch test
- FAQ
- Summary
Quick answer
A purple smokey eye is easier to control when you separate color from depth. A medium purple supplies the visible color, a deeper plum or eggplant defines the outer lashes, and a softer transition shade keeps the boundary from becoming a solid dark band. You do not need black shadow to make the look feel finished.
Begin with a compact shape and two or three shadows. This guide explains how to choose a purple combination, build the gradient in six steps and adjust four different versions without losing the color you wanted.
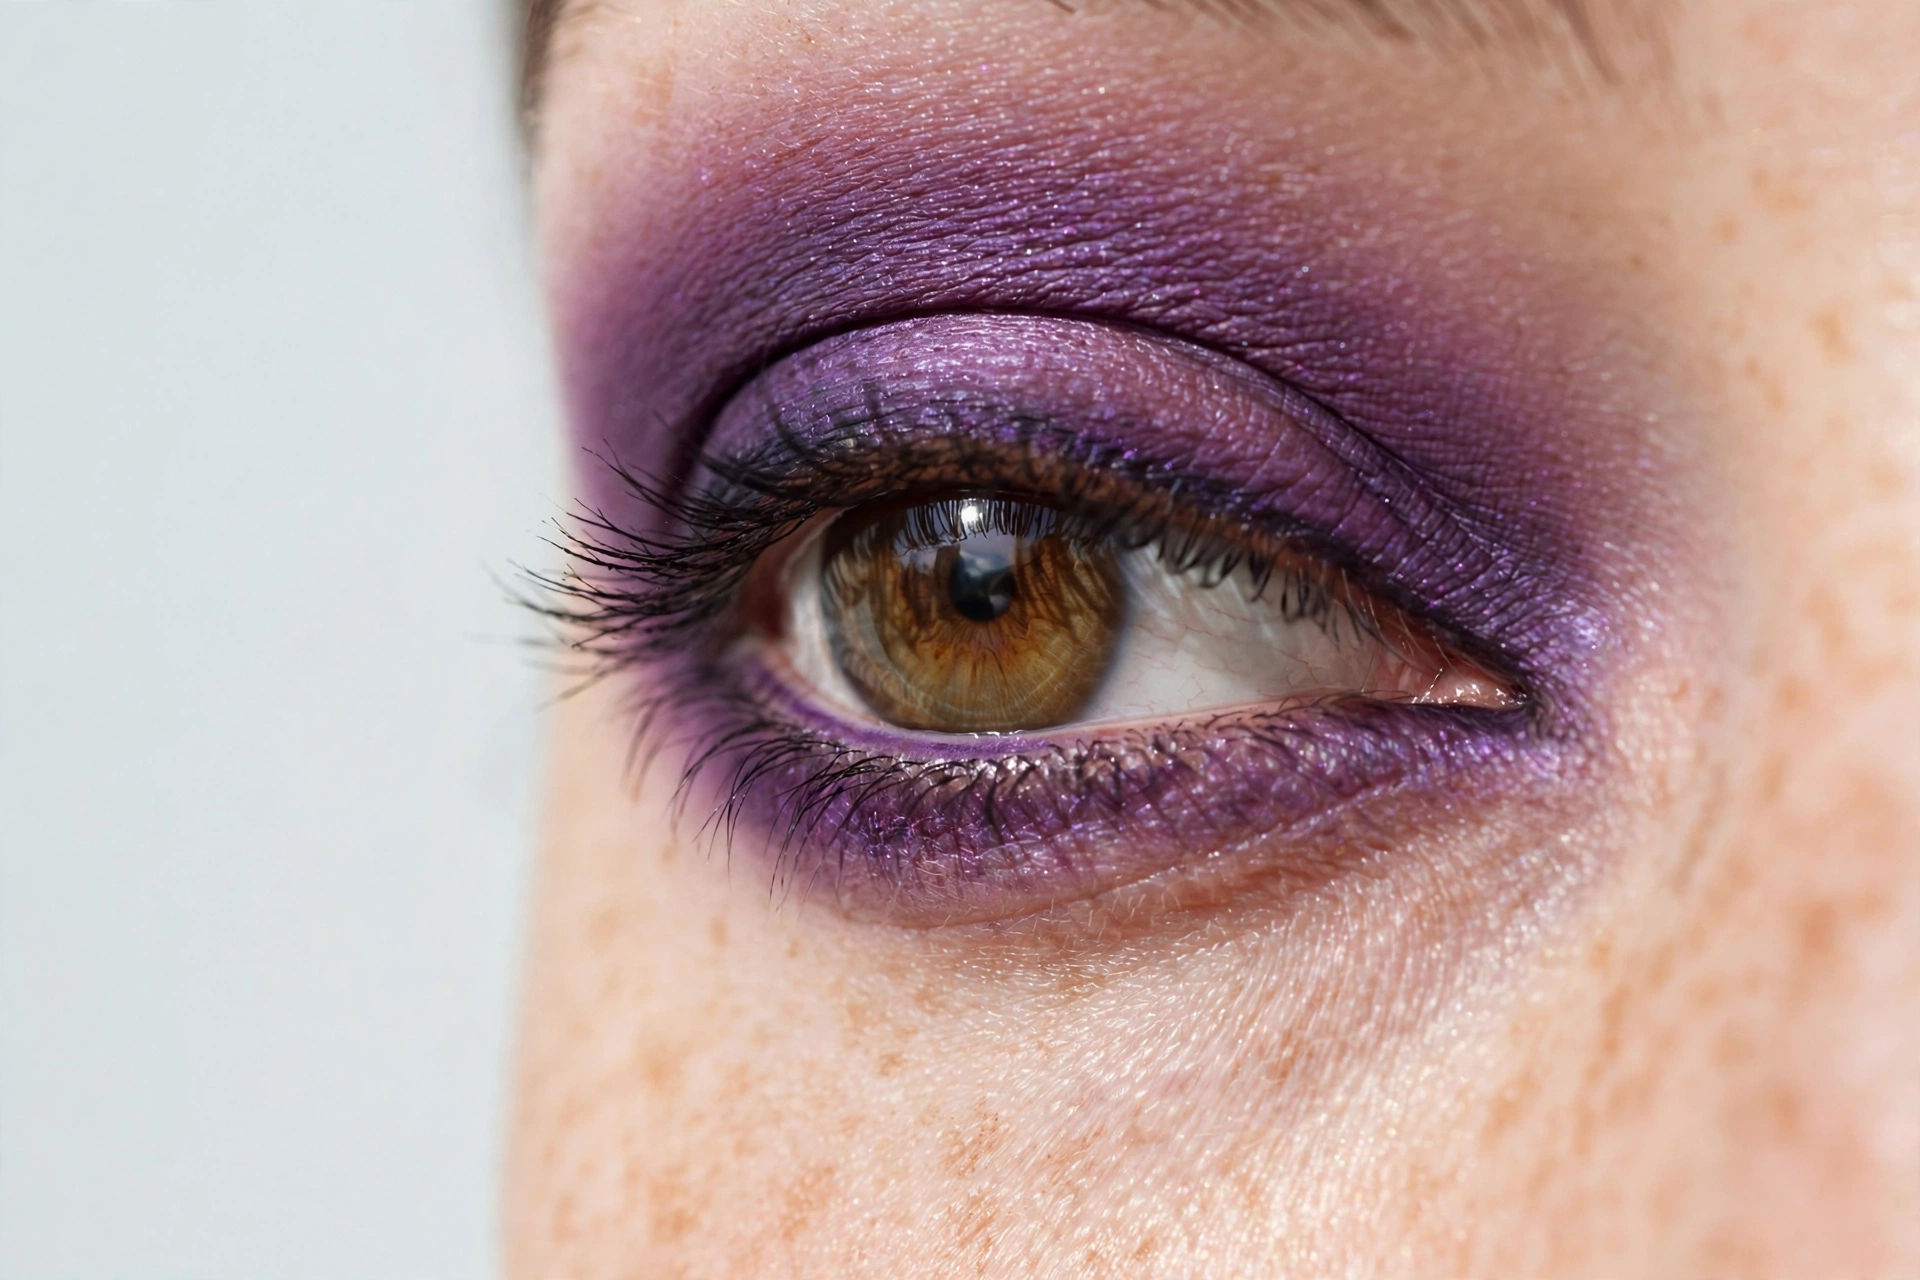
If your eyes sting, water or redden after using a shadow, stop using it. This guide is general information, not medical advice.
Contents: Choose a palette · Tool kit · Six steps · Four combinations · Fix problems · Help the look hold · Daytime, evening, photos · Mistakes · Eye safety · Sunscreen under makeup · Patch test · FAQ
Choose a purple palette with a clear job for each shade
Look at the actual shadow rather than the palette’s name. Some purples lean blue, some lean red and others contain enough gray or brown to look muted. A violet and a burgundy can both be called purple, but they create quite different eyes.
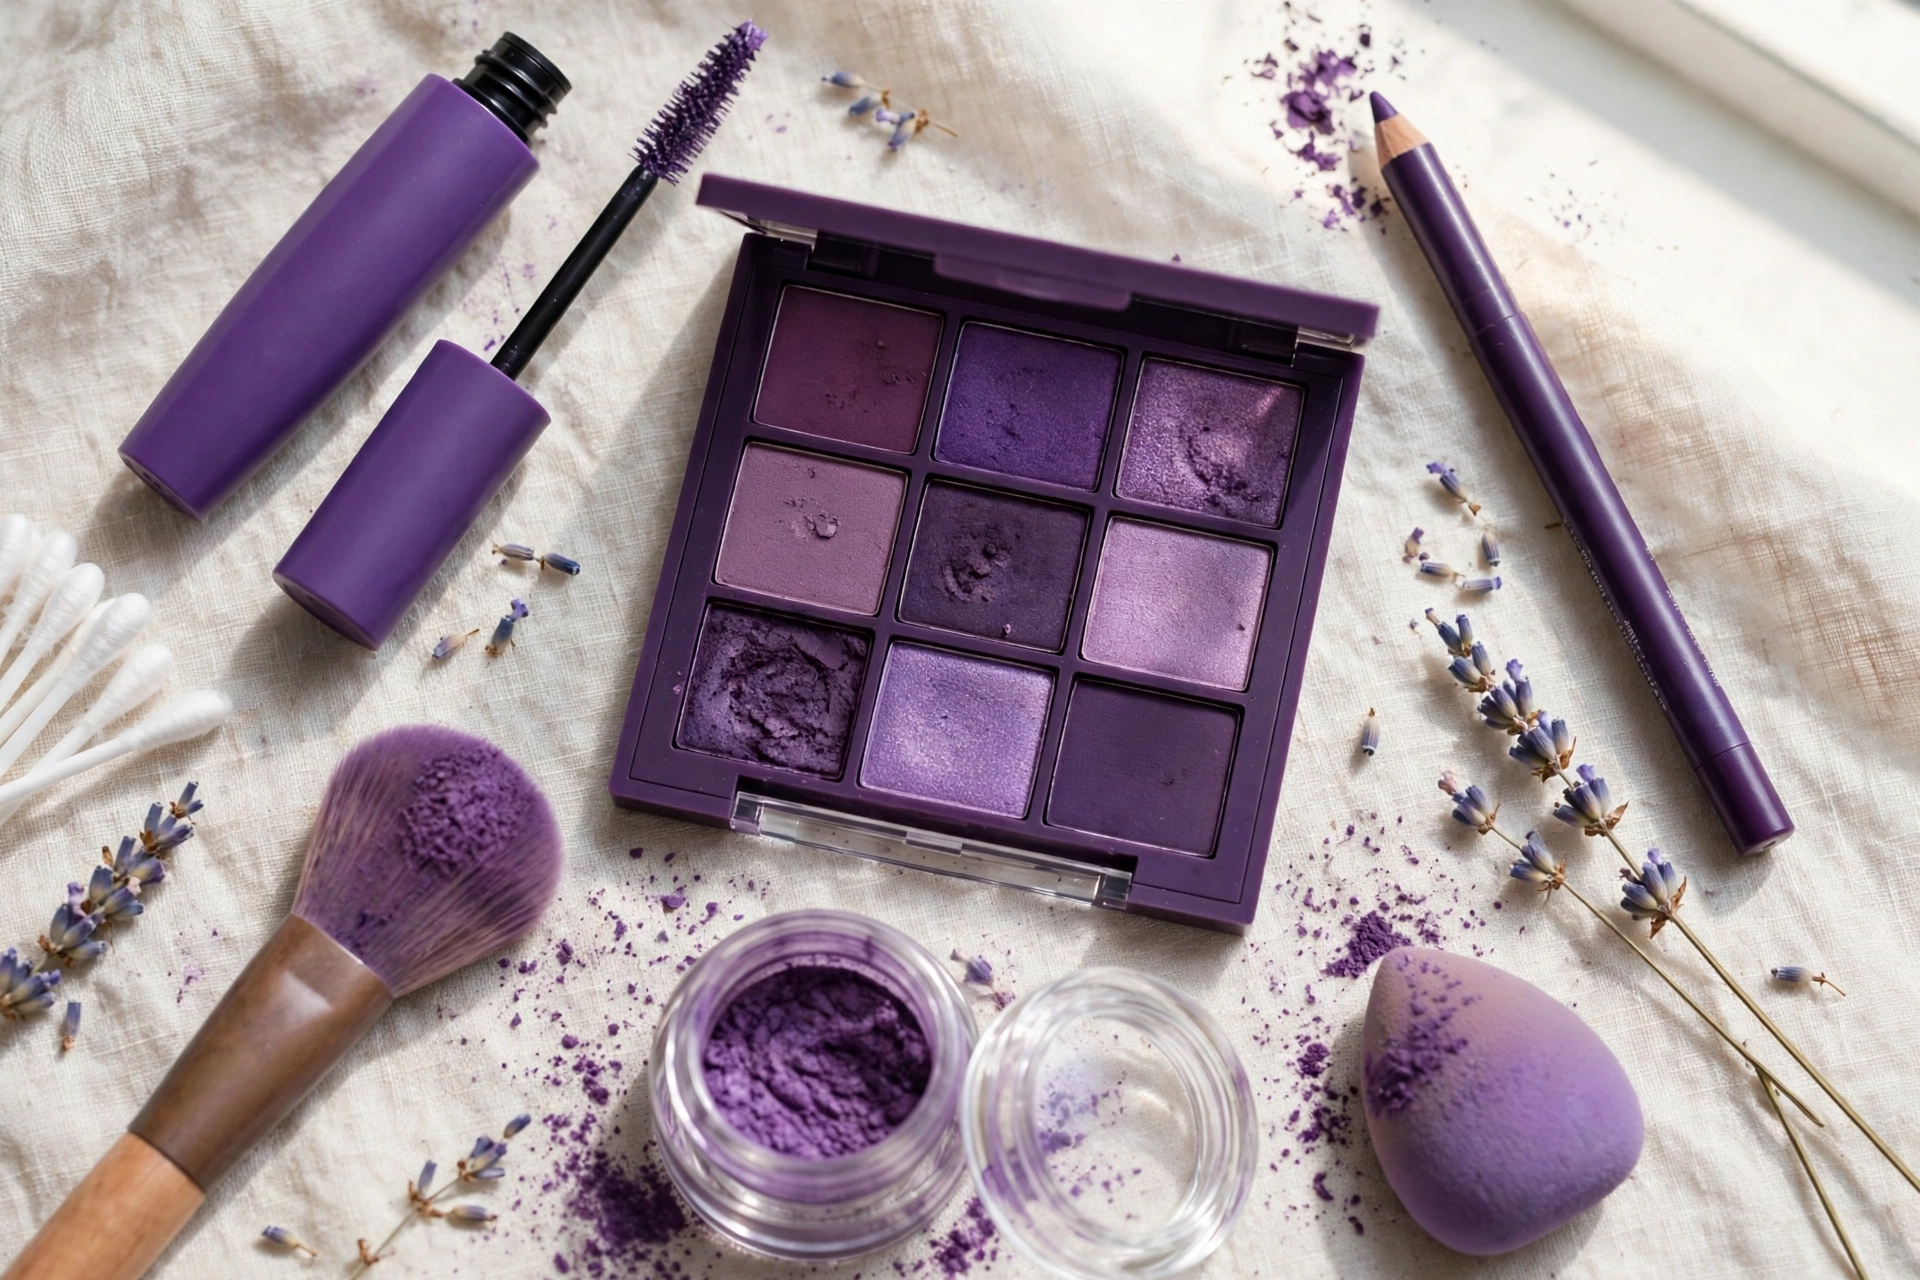
- Transition shade: A muted mauve, rose-brown or another shade that softens into your skin. It does not have to look purple in the pan.
- Main purple: A medium shade that remains visibly purple on your lid. Test it in a light layer before deciding how much to build.
- Depth shade: A darker plum, eggplant or suitable deep brown for the outer upper lashes. Keep its area smaller than the main purple.
- Optional highlight: A satin lilac or coordinating shimmer for the center of the mobile lid. Leave this out until the matte shape works.
If pale lilac turns chalky, compare a deeper or less white-based purple. If a warm plum looks almost red on you, try a more neutral violet. These are starting points, not restrictions based on eye color or complexion.
Keep the tool kit small
Use a flat or rounded brush to press color onto the lid, a clean fluffy brush for the perimeter and a small detail brush for the deepest shade. Add an eye primer if you normally use one, plus mascara. Liner is optional.
A clean blending brush matters because leftover brown or black pigment can change a purple mixture. If you are learning the basic gradient for the first time, a brown smokey eye method explains where to keep the darkest shade. Here, the extra task is preserving a visibly purple middle layer.
Purple smokey eye in six controlled steps
1. Prepare an even, comfortable lid
Remove leftover makeup and let skincare settle. If using eye primer, follow its directions and apply a thin layer. A thick or uneven base can leave some areas grabbing more pigment than others. Avoid adding extra product simply to hide natural lid texture.
2. Sketch the outer boundary with eyes open
Look forward with relaxed brows and decide where the soft upper edge should sit. Place a little transition shadow near the outer lid and check the other eye. On hooded eyes, keep checking the visible shape rather than drawing the whole look with your eyes closed.
3. Press the main purple onto the lid
Pick up a small amount, tap away loose excess and press color onto the mobile lid. Start at the outer half, then work toward the center. Stop short of the intended final upper boundary so you have room to soften it. Build another thin layer only where the color needs more presence.
4. Blend the boundary, not the entire lid
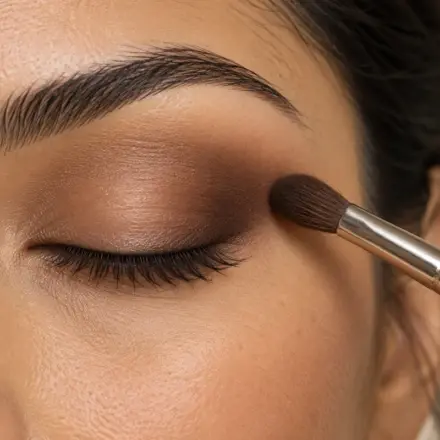
Use the clean fluffy brush along the top and outer edges. Small movements preserve the purple center better than repeated sweeping across the whole lid. If a seam remains, add a little transition shade at that seam instead of spreading the darkest purple farther upward.
5. Add depth close to the outer lashes
Press plum or eggplant along the outer upper lash line with the detail brush. Extend it slightly into the outer third, then blend the join with the main purple. Keep a visible area of medium purple. If everything becomes dark, adding shimmer will not fully restore that missing gradient.
6. Choose a light or defined finish
Add mascara and decide whether to leave the lower lashes bare. For more definition, place a little main purple under the outer lower lashes, outside the eye, and soften it. For a brighter lid, press a small amount of eye-area shimmer onto the center. A thin liner can work, but it should not cover the purple you just built.
Four purple combinations to adapt
Muted mauve and plum
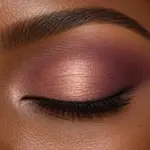
Choose a muted mauve transition, medium plum lid and deeper plum at the outer lashes. Keep the lower lash line clear for a softer version. This is a useful first combination when you want a visible purple direction without a bright violet lid.
Violet with a neutral-brown edge
Use neutral brown only at the perimeter and keep violet as the main lid color. Blend the seam lightly. Too much brown over the violet can dull it, so use separate brushes or clean the brush before returning to the purple.
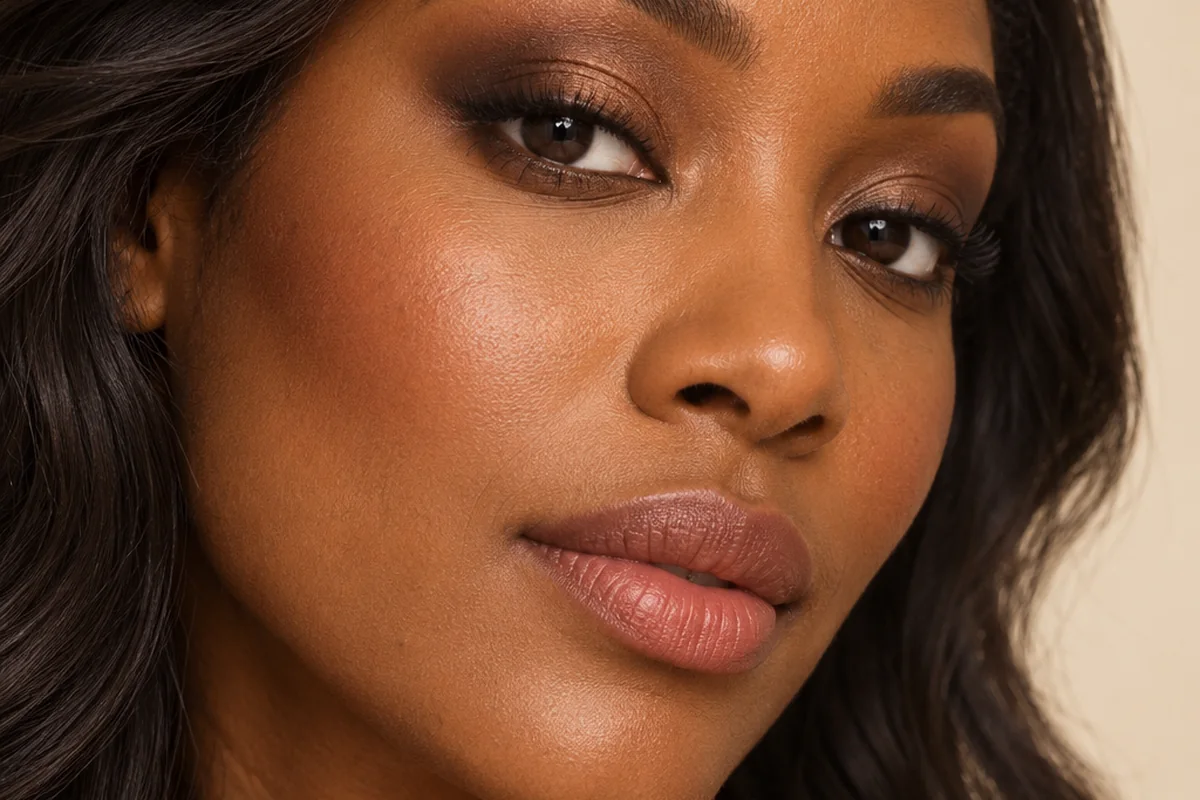
Lilac center and eggplant outer corner
Build a medium purple base, deepen the outer lashes with eggplant and add lilac satin at the center. The medium shade connects the light and dark areas. If you jump straight from pale lilac to deep eggplant, the boundary may be harder to soften.
Berry-purple evening eye
Choose a red-leaning purple for the lid and a deeper coordinating plum at the outer corner. Keep the surrounding face relatively simple while you judge the intensity. A lip near your natural color can balance the look; a nude lip combination guide covers liner-depth options.
Fix the problem you can see
- A patch becomes darker as you blend: Stop adding pigment. Soften its edge with a clean brush, or remove that small area gently and rebuild a thinner layer.
- The purple looks muddy: Check whether brown or black has spread across the main lid. Re-establish a small medium-purple area instead of darkening everything.
- Color disappears when you open your eyes: Remap the visible upper boundary with relaxed brows. Keep any extra color close to that planned shape.
- Fallout marks the cheeks: Use less shadow per layer and press it onto the lid. Doing eyes before complexion makeup can simplify cleanup.
- The outer corner grows too large: Remove a little from the boundary. Do not enlarge the other eye repeatedly to chase the first.
Help the look hold
Purple can fade into a grey or patchy wash if the base is too thick or the color is swept on dry. Thin layers work better. Start with a clean lid, let skincare settle, and use only a small amount of eye primer if you normally use one. Press the purple on, let it settle, and only then decide whether you need a second light layer. No fixed wear time can be promised — how long any eye look holds depends on your skin, the products and the day, so check the look in daylight before you leave and expect a touch-up rather than a guaranteed number of hours.
- Keep the base thin: A thick base can make purple slide into a fold. A thin, even layer holds the color better.
- Press, do not sweep: Pressing keeps the purple in the center of the lid and reduces fallout on the cheeks.
- Keep the outer edge blended, not sharp: A soft matte edge at the outer lashes stops the smokey shape from looking harsh while keeping the eye shape clear.
- Check in daylight: Purple can look blue indoors and pink outdoors. Step into natural light before you leave.
- Refresh with a brush, not more shadow: A clean brush can soften a hard edge later. Adding a whole new layer often makes the finish look heavy.
Purple smokey eye for daytime, evening, and photos
The same purple smokey method can look soft or more polished if you change the size of the purple area and the depth of the outer corner.
For daytime
Choose a muted mauve or soft plum and keep the purple area compact. Skip lower-lash shadow, keep mascara light, and pair the eye with a muted lip. This version reads as polished and is easy to wear every day.
For evening
For evening, build more depth at the outer lashes with plum or eggplant and keep the upper boundary blended. Let the blush and lip stay calm so the eye remains the focus.
For photos
Camera light can wash out a soft purple or make a deep one look black. Check the look in bright light if you can. A visible purple area in the center of the lid usually photographs better than a very dark, all-over smokey eye, because it keeps the color and the eye shape visible.
Mistakes to avoid with a purple smokey eye
- Using too much purple at once: A heavy first layer is harder to fix than a light one. Build slowly and stop when the color is visible with eyes open.
- Blending the whole lid: Blending everywhere can turn purple into a grey wash. Blend only the boundary, and keep the center of the lid as the clearest color.
- Letting the result turn muddy: If leftover brown or black pigment mixes in, purple can look muddy. Use a clean blending brush and a fresh brush for the purple itself.
- Matching everything exactly: The lip, blush, and eye do not need to be the same purple. A comfortable muted lip usually works better with a strong eye.
Eye safety
Keep brushes and eye cosmetics clean. Use products intended for the eye area, do not share them and stop using a product that irritates your eyes. Never share eye makeup with anyone, not even a close friend, and do not use testers at a shop unless they are applied with a single-use applicator.
Do not use eye makeup while you have an eye infection or the skin around the eye is inflamed — wait until the area has healed, and discard any eye cosmetics you were using when the infection started. Manufacturers usually recommend discarding mascara two to four months after purchase. Discard dried-up mascara; do not add water or saliva to moisten it. Wash your hands before applying eye makeup, and never apply or remove eye makeup in a moving vehicle. (FDA eye cosmetic safety guidance.)
Sunscreen under makeup
Wear broad-spectrum sunscreen SPF 30 or higher every morning, as the last skincare step before makeup. Let it set for a few minutes before applying eyeshadow, so the shadow has a dry surface to sit on. Reapply every two hours when outdoors. Sunscreen does not change how a purple lid looks — a greasy or unset base does, so let each layer settle before the next.
Patch test
Before using a new eyeshadow or eye product more widely, patch test it: apply a small amount to the underside of your arm or the bend of your elbow, twice a day, for 7 to 10 days. If you get redness, itching, swelling or a rash, stop using it. A short one-day test can miss an allergic reaction, which often takes several days to appear — that is why this guide uses the American Academy of Dermatology’s 7 to 10 day patch-test method. Patch testing on your arm does not guarantee a product will suit the skin around your eyes, which is thinner and more sensitive — if the eye area stings or waters, stop using the product even if the arm test was fine.
FAQ
Can purple shadow work with a simple everyday face?
Yes. Keep the purple area compact, use less outer-corner depth and leave the lower lashes bare. Pair it with a natural everyday makeup approach and a muted lip.
Do I need a wing with a purple smokey eye?
No. Mascara and a narrow outer-lash shadow can finish the look. If you want a wing, map a small one after the shadow; a hooded-eye liner guide explains the open-eye method.
Can I use any purple cosmetic around my eyes?
Use products specifically intended for the eye area and follow the label. Keep tools clean, do not share eye cosmetics and stop using a product that irritates. The FDA eye cosmetic safety guidance covers product-use precautions.
Can a purple smokey eye work for hooded eyes?
Yes. Keep the purple area on the mobile lid where it is visible with eyes open, and use a soft matte transition slightly above the fold so the shape does not disappear. A compact smokey shape often works better than a large, high blend.
How do I remove a purple smokey eye without scrubbing?
Use a gentle eye makeup remover or cleansing product made for the eye area, hold a damp cotton pad over the lid for a few seconds, then wipe softly downward. Avoid rubbing, and wash your hands and brushes regularly to keep the eye area clean.
How long should I keep my mascara?
Manufacturers usually recommend discarding mascara two to four months after purchase. Discard it sooner if it dries up, smells different or irritates your eyes, and never add water or saliva to moisten it.
Summary
A medium purple for color, a deeper plum for the outer lashes and a soft transition shade for the boundary — that is the whole method. Press the color on in thin layers, blend only the edges, and keep a visible purple center. Test new products on your arm for 7 to 10 days first, wear SPF 30+ under makeup, and keep eye makeup clean, unshared and replaced on time. No product in this guide was tested by us, and no brand is recommended.
Sources: FDA eye cosmetic safety guidance (https://www.fda.gov/cosmetics/cosmetic-products/eye-cosmetic-safety); AAD sunscreen guidance; AAD patch-test method. This is a researched overview, not a hands-on review.