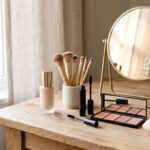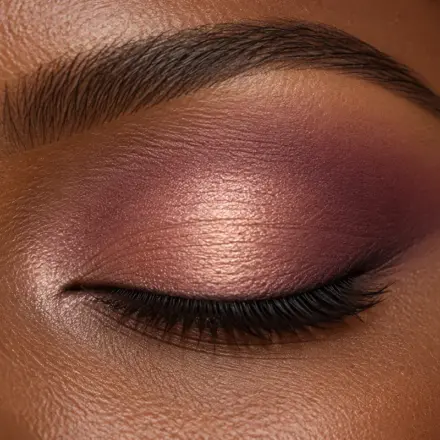


Researched overview. This guide is based on published dermatology and eye-care guidance, not on hands-on product testing by BeautyKob. No product in this guide was tested by us, and no brand is recommended.
Table Of Content
- Quick answer
- Why a natural look works
- Skin prep before makeup
- Cleanse and hydrate
- Sunscreen
- Primer: do you actually need it?
- Choosing the base: foundation, tinted moisturiser, or BB cream
- Tinted moisturiser and skin tints
- Light-coverage foundation
- When to skip base entirely
- Concealer: your most strategic tool
- Under-eye concealer
- Spot concealing
- Building a natural eye and brow look
- Eyebrows: groom, don’t overhaul
- Eyeshadow: neutral and subtle
- Mascara: one to two coats, max
- Eyeliner: optional and minimal
- Adding colour: blush, bronzer, and lips
- Blush: the most useful colour step
- Bronzer: warmth without mud
- Lips: keep it simple
- Setting your makeup to last
- Setting powder: less is more
- Setting spray: a better option for natural looks
- Common mistakes that ruin a natural makeup look
- A quick natural makeup routine (under 10 minutes)
- Adapting your natural look for different skin types
- Oily skin
- Dry skin
- Combination skin
- Sensitive skin
- Patch test
- Summary
- FAQ
- Q1: How long does a natural makeup look take to apply?
- Q2: What is the difference between “natural makeup” and wearing no makeup?
- Q3: Can I create a natural everyday look if I have acne or hyperpigmentation?
- Q4: What are the best products for a beginner starting a natural makeup routine?
- Q5: Should I skip makeup entirely if I have sensitive or acne-prone skin?
Quick answer
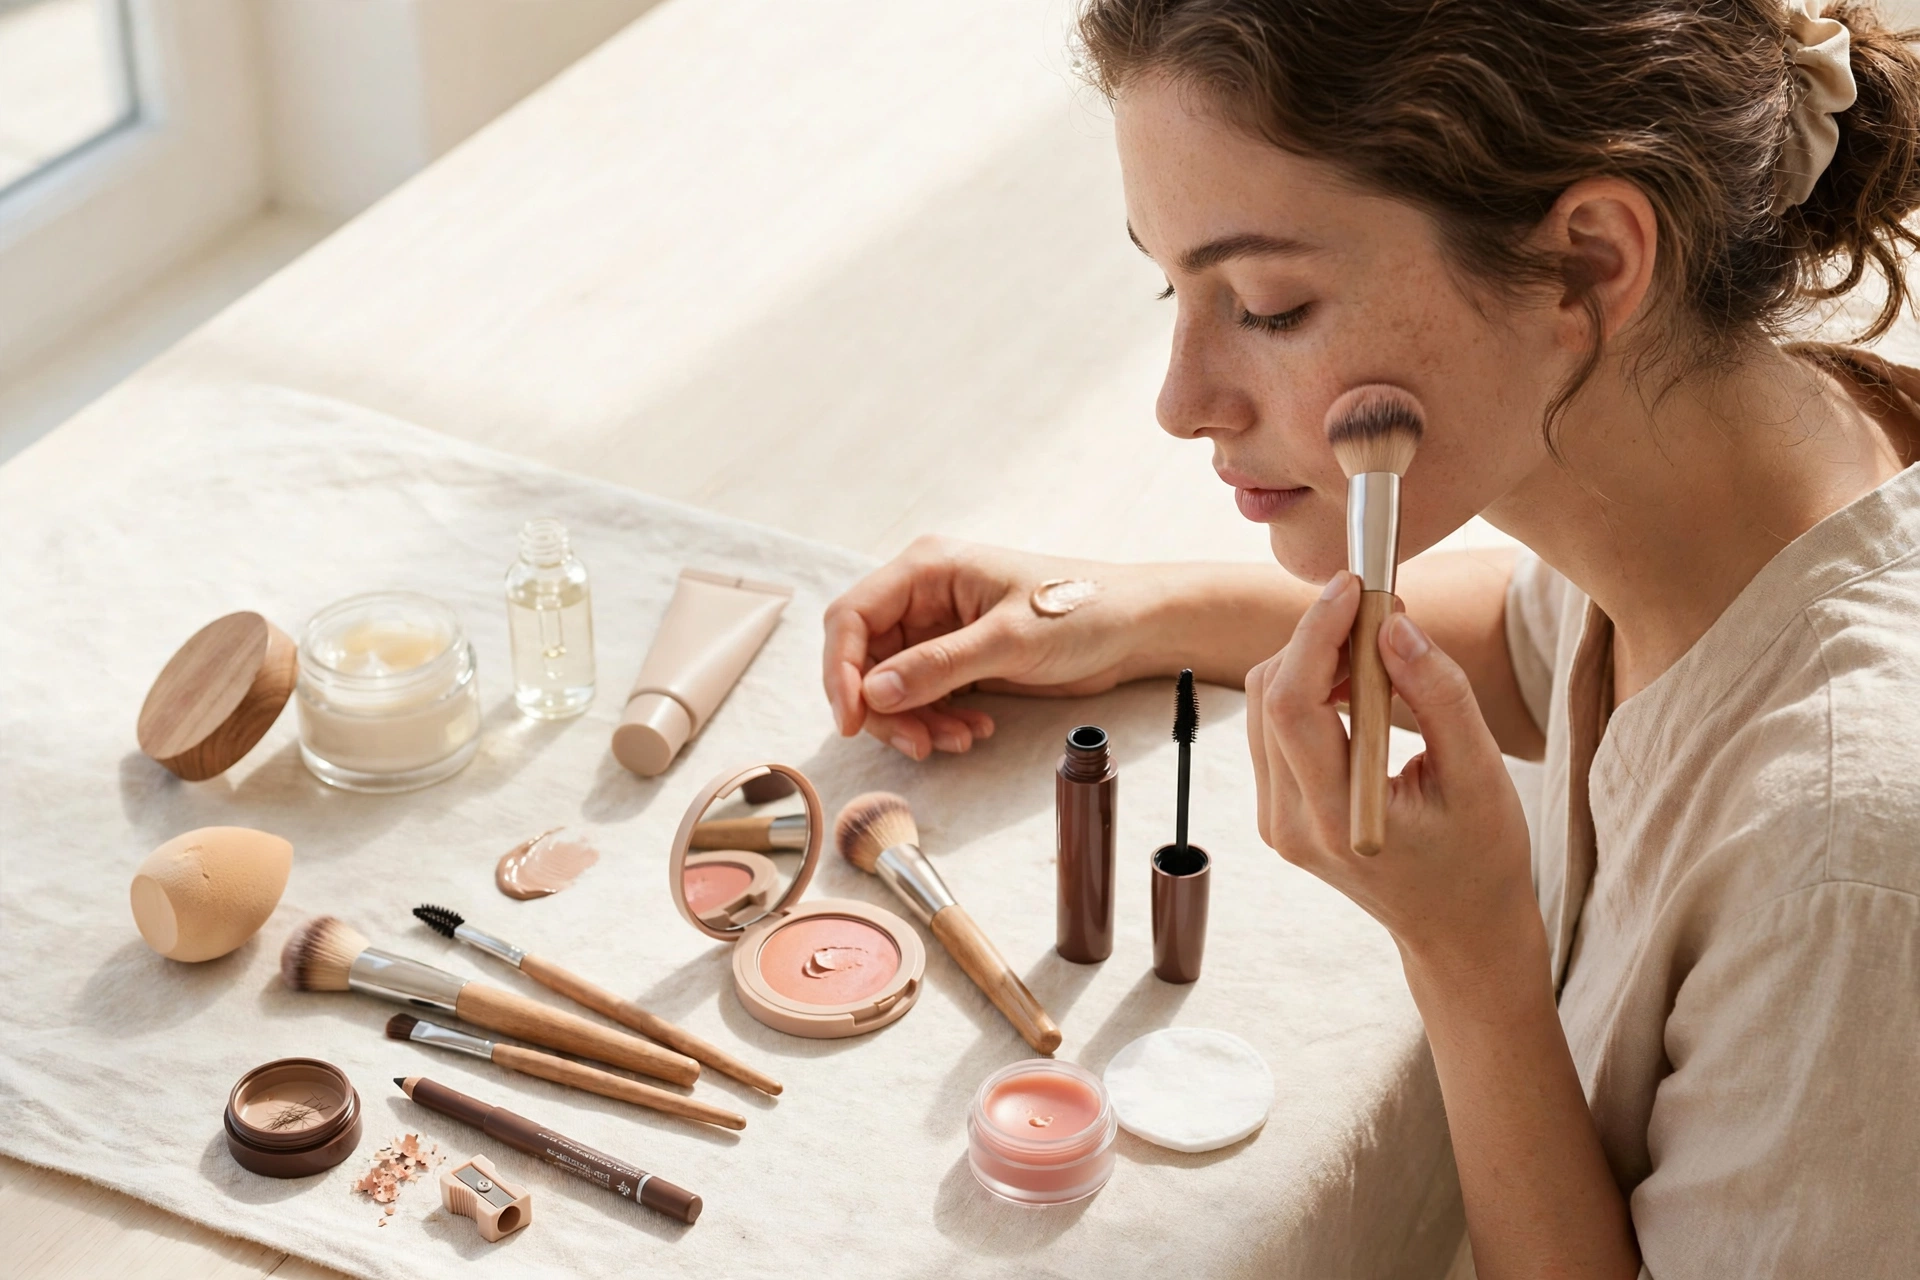
A natural everyday look is not about using no makeup. It is about using a few thin layers that let your skin show through: good skin prep, a sheer base or concealer only where needed, groomed brows, one or two coats of mascara, a little colour on the cheeks and lips, and a light setting step. The most common reason a natural look fails is too much product, or product that is not blended at the edges.
If your skin is red, sore, or has open sores, a rash, or an eye infection, skip makeup on the affected area and ask a dermatologist or pharmacist first. Stop using any product that stings, burns, or causes redness or swelling. This guide is general information, not medical advice.
Contents: Why a natural look works · Skin prep before makeup · Primer · Choosing the base · Concealer · Eyes and brows · Colour: blush, bronzer, lips · Setting · Common mistakes · A quick routine (under 10 minutes) · By skin type · Patch test · FAQ
Why a natural look works
A polished natural face works in more settings than a bold look — the office, a coffee run, a video call. The difference is in the technique and product choice, not the effort: thin layers, thorough blending, and colours close to your own.
Keeping things minimal is also gentler on the skin for many people. Heavy daily makeup can contribute to clogged pores and irritation for some skin types, so a shorter routine is a skin-health choice as well as a style choice — not a guarantee of clearer skin.
Skin prep before makeup
Good skin prep is the foundation of any natural makeup routine. It is the step that separates a look that stays smooth from one that looks flat or patchy by noon.
Cleanse and hydrate
Start with a gentle cleanser to remove overnight oil or residue. Follow with a lightweight moisturiser suited to your skin type. Oily skin usually suits a gel-based or water-based moisturiser; dry skin benefits from something richer with ingredients like hyaluronic acid or ceramides.
Give the moisturiser about a minute to settle before moving on. Applying makeup on top of still-wet moisturiser is one of the most common reasons foundation slides around or pills up during the day.
Sunscreen
Apply a broad-spectrum sunscreen with SPF 30 or higher every morning, as the last skincare step before makeup. UV is a major contributor to premature ageing, uneven tone and dark spots, and daily sunscreen is widely described by dermatologists as the most effective anti-ageing step — daily sunscreen use has been shown to slow visible skin ageing (Hughes et al. 2013).
For a natural makeup routine, look for a sunscreen that dries down without a white cast or greasy finish. Many mineral sunscreens now work well under makeup, and some tinted sunscreens can replace foundation entirely on low-key days. Let the sunscreen set for a couple of minutes before applying base products. Sunscreen is still worth wearing when you spend time near windows, because glass blocks UVB but not all UVA; ordinary indoor lighting does not meaningfully affect skin.
Reapply every two hours when you are outdoors. Note that the SPF in a tinted moisturiser, BB cream or foundation is not a substitute for sunscreen on its own, because people apply far less of those products than the amount used in SPF testing.
Primer: do you actually need it?
Not always. If your moisturiser and sunscreen combination gives you a smooth, hydrated base, you can skip primer entirely. If your makeup tends to fade quickly, a thin layer of primer can help. Choose a hydrating primer for dry skin or a mattifying one for oily areas like the T-zone.
Do not overdo it. A pea-sized amount for the whole face is usually enough. Thick layers of primer defeat the purpose of a lightweight, natural-looking base.
Choosing the base: foundation, tinted moisturiser, or BB cream
The right base depends on how much coverage you actually need and how much time you want to spend blending.
Tinted moisturiser and skin tints
For most people going for an everyday natural look, a tinted moisturiser or skin tint is the ideal base. These products offer sheer-to-light coverage, blend easily with fingers, and let your real skin show through. That “skin showing through” effect is exactly what makes a natural look convincing.
Apply with clean fingers or a damp makeup sponge. Start with a small amount — about a nickel-sized dollop — and spread from the centre of the face outward. You can always add a little more where you need it, but you cannot easily take away excess product.
Light-coverage foundation
If you have more noticeable redness, hyperpigmentation, or uneven tone that a skin tint does not address, opt for a light-coverage liquid foundation. The key is choosing one labelled “natural finish” or “skin-like finish” rather than “full coverage” or “matte.”
Apply it the same way — small amount, blend outward, build only where needed. The goal is even-looking skin, not a perfectly uniform mask.
When to skip base entirely
If your skin is relatively clear and even-toned, you might not need a base product at all. A good moisturiser with SPF, a dab of concealer on any spots or under-eye circles, and you are done. This is the most minimal approach, and it works well when your skin cooperates.
Concealer: your most strategic tool
Think of concealer as a precision tool. Instead of using foundation to cover everything, use concealer only where you need it. This targeted approach looks far more natural than an all-over full-coverage base.
Under-eye concealer
A concealer one shade lighter than your skin tone is often suggested for under the eyes. Apply in a thin line or small dots, then gently blend with your ring finger (it applies the least pressure) or a small damp sponge.
A common mistake is applying too much concealer under the eyes and then setting it with heavy powder. This combination creates a dry, creased, cakey look — the exact opposite of natural. Use a thin layer and, if you set it at all, use the tiniest amount of finely milled powder.
Spot concealing
For blemishes, redness, or dark spots, use a concealer that matches your exact skin tone. Dab a small amount directly on the spot with a fine brush or clean fingertip. Pat gently to blend the edges without wiping away the coverage. The patting motion matters — swiping moves the product off the spot you are trying to cover.
Building a natural eye and brow look
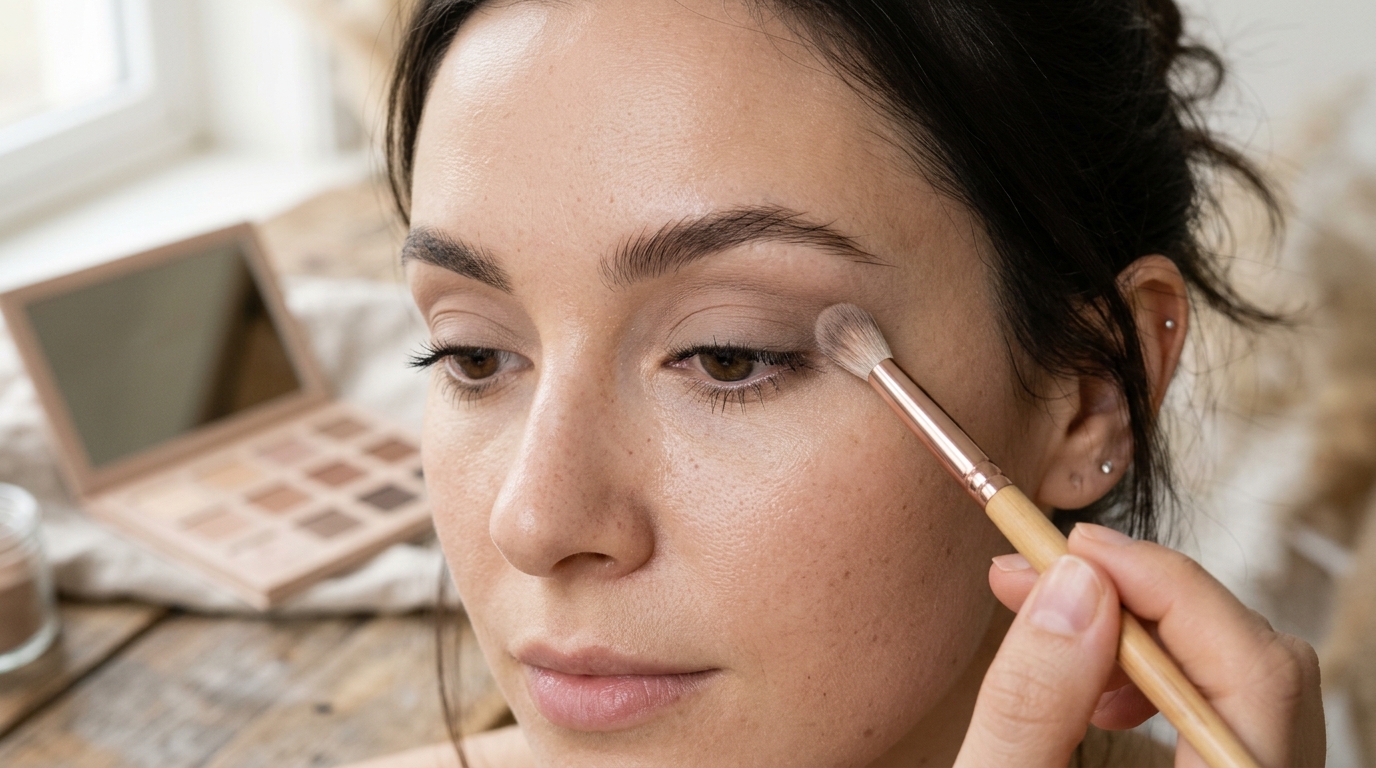
Your eyes and brows frame your whole face, so getting them right is essential for a natural look that still feels intentional and polished.
Eyebrows: groom, don’t overhaul
The goal is to fill in sparse areas and set your brows in place, not to draw on an entirely new shape.
Use a brow gel, brow pencil, or tinted brow pomade that matches your natural brow colour. If you are between two shades, the lighter one is usually the safer choice — darker brows draw attention immediately and can look harsh in person, even if they photograph well.
Brush your brows upward with a spoolie first to see their natural shape. Then use light, feathery strokes to fill in any gaps, following the direction your hairs naturally grow. Finish with a clear or tinted brow gel to keep everything in place.
Eyeshadow: neutral and subtle
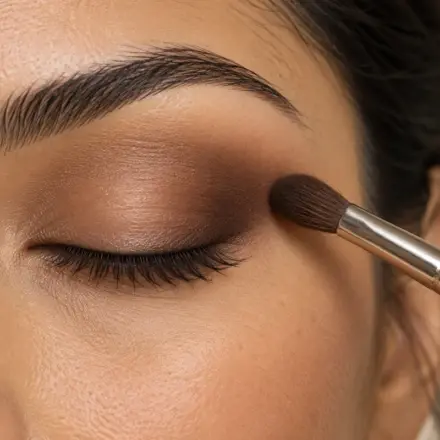
For a natural look, eyeshadow should enhance your eye shape without being the first thing people notice. Stick to neutral shades — soft taupes, warm beiges, light browns, or soft pinks depending on your skin tone.
A single wash of a neutral shade across the lid often does the job. If you want a little more depth, add a slightly darker shade in the crease and blend it well. Cream and liquid eyeshadows often work well for this because they blend seamlessly and look like a natural shadow on the lid rather than visible product.
Skip shimmer on most of the lid if you want the most natural result. A tiny dab of a light shimmer on the inner corner of the eye can brighten your whole look without being obvious.
Mascara: one to two coats, max
Curl your lashes first with a clean eyelash curler — this opens up the eyes more than any amount of mascara can. Then apply one thin coat of mascara, wiggling the wand from root to tip. If you want a little more volume, wait 30 seconds and apply a second coat.
Avoid waterproof mascara for daily wear unless you really need it. Waterproof formulas are harder to remove and can be more drying for your lashes over time. A tubing mascara is an alternative — it holds up well during the day but removes easily with warm water.
For the most natural result, choose a mascara in a shade that matches your lashes. Black-brown or brown can look more natural than jet black, especially if you have lighter hair and brows.
Replace mascara regularly: the FDA advises discarding mascara about three months after purchase, and the American Academy of Ophthalmology recommends throwing away eye makeup after three months. Never add water or saliva to dried mascara, and never share eye makeup.
Eyeliner: optional and minimal
If your look needs a little extra definition, try tightlining — applying a thin line of pencil liner right along your upper lash line, between the lashes. This adds subtle definition without a visible “eyeliner look.”
Skip the lower lash line for everyday natural makeup. Liner on the bottom tends to look heavier and can make the overall look feel less fresh.
Adding colour: blush, bronzer, and lips
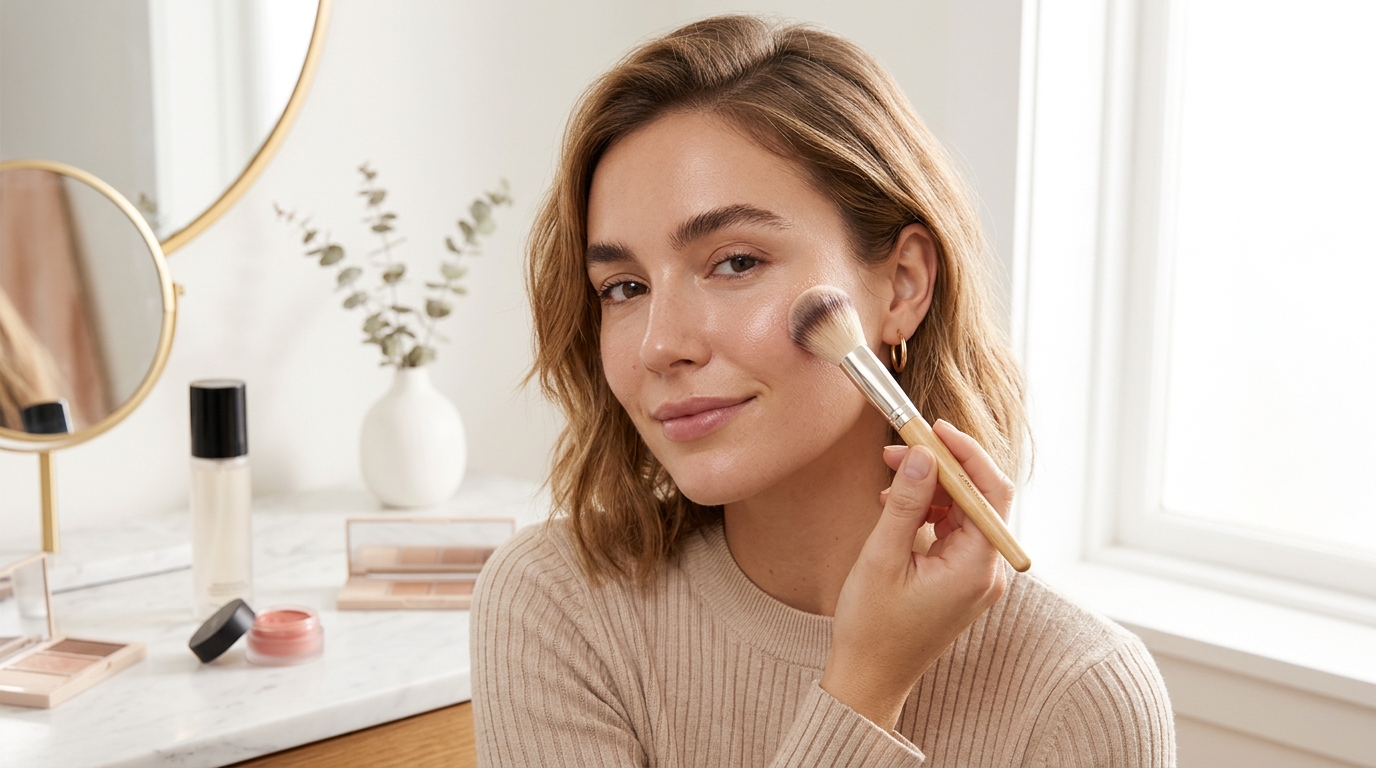
A natural makeup look should not be completely flat. Adding just the right amount of colour makes you look healthy and alive rather than washed out.
Blush: the most useful colour step
Blush is often the single most useful colour product in a natural routine. A healthy flush on the cheeks instantly makes you look awake and rested.
Cream blush is ideal for natural looks because it blends into the skin seamlessly. Apply it to the apples of your cheeks and blend upward toward the temples. Start with less than you think you need — you can always add more.
Choose a shade that mimics your natural flush. Pinch your cheek gently and the colour that appears is a good guide. Rosy pinks work well for fair to light skin, peach and coral suit medium tones, and deeper berries and plums suit darker skin.
Bronzer: warmth without mud
Bronzer adds warmth and a subtle dimension, but it is also the easiest product to overdo. Use a matte bronzer (save the shimmer for a night out) and apply it lightly where the sun would naturally hit — the tops of your cheekbones, the temples, the bridge of the nose, and along the jawline.
Use a fluffy brush and tap off excess product before applying. It is much easier to build up bronzer gradually than to blend out too much.
If your bronzer looks muddy or orange on your skin, the shade is wrong. A good bronzer should look like you spent a weekend outdoors, not like you rubbed something artificial on your face.
Lips: keep it simple
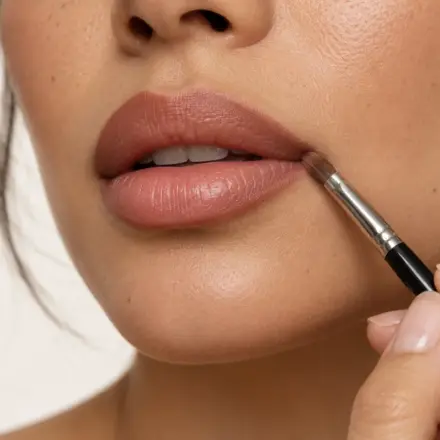
For an everyday natural look, your lip product should enhance your natural lip colour rather than transform it. Solid options:
- Tinted lip balm provides moisture and just a hint of colour. This is the easiest, most low-maintenance option.
- Lip gloss in a neutral or rosy shade adds a fresh, dewy look.
- A “your lips but better” lipstick in a shade close to your natural lip colour gives a more polished finish for professional settings.
Lip liner is optional for everyday natural makeup; a visible lip liner belongs in a more made-up look.
Setting your makeup to last
Even a minimal, natural look needs a little help staying in place throughout the day. The trick is setting your makeup without adding visible layers or texture.
Setting powder: less is more
If you use powder at all, apply it only where you tend to get oily — usually the T-zone (forehead, nose, and chin). Use a finely milled translucent powder and a light hand. Press the powder into the skin with a velvet puff rather than sweeping it on with a brush. This sets the makeup underneath without creating a powdery finish on top.
Skip powder entirely on the cheeks and under-eye area for the most natural, skin-like result. These areas tend to look dry and textured with powder.
Setting spray: a better option for natural looks
A setting spray is often a better choice than powder for a natural finish. It melts everything together, removes any powdery appearance, and helps your makeup last without looking heavy. It helps hold makeup in place; it does not make it waterproof or smudge-proof.
Hold the bottle about eight to ten inches from your face and mist in an X-shape followed by a T-shape to cover everything evenly. Let it air dry — do not touch your face while it sets.
Common mistakes that ruin a natural makeup look
- Using too many products. A natural look does not need 15 steps. Moisturiser, SPF, a base product or concealer, mascara, blush, and a lip product is a solid routine. Every additional product adds another layer that can look less natural.
- Skipping blending. Harsh edges around foundation, concealer, or bronzer instantly look unnatural. Take the extra 30 seconds to blend thoroughly, especially along the jawline, hairline, and under the eyes.
- Choosing the wrong undertone. A foundation that matches your skin shade but not your undertone (warm, cool, or neutral) will look slightly off in natural light. Always swatch products on your jaw in natural daylight before buying.
- Over-powdering. Heavy powder is the enemy of a natural finish. It sits on top of the skin and emphasizes every fine line and pore. If you are used to applying a lot of powder, try cutting your usual amount in half and see how it looks.
- Ignoring your skin’s actual needs. If your skin is dehydrated, flaky, or irritated, makeup will not fix it. Address the skin issue first with appropriate skincare. Makeup is meant to enhance healthy skin, not repair it.
- Matching makeup to your phone screen, not a mirror. Colours look very different on screens versus in real life. Always check your finished look in natural light near a window before heading out.
A quick natural makeup routine (under 10 minutes)
Once you are comfortable with the techniques above, here is how to streamline everything into a fast morning routine:
- Moisturise and apply SPF (2 minutes, including absorption time).
- Apply tinted moisturiser or concealer where needed (1–2 minutes).
- Groom brows with a pencil and gel (1 minute).
- Sweep a neutral shadow across lids (30 seconds).
- Curl lashes and apply one coat of mascara (1 minute).
- Dab cream blush on cheeks (30 seconds).
- Apply a tinted lip balm (15 seconds).
- Mist with setting spray (15 seconds).
That is a complete, polished, natural face in about ten minutes. On days when you are really rushed, you can cut this to just SPF, concealer, mascara, blush, and lip balm — five products, five minutes.
Adapting your natural look for different skin types
Your skin type affects which products and techniques work best.
Oily skin
Use oil-free or water-based formulas. A mattifying primer on the T-zone helps control shine. Opt for a light powder in oily areas, and carry blotting papers instead of adding more product during the day.
Dry skin
Layer hydration. Use a richer moisturiser, skip powder entirely, and choose dewy-finish base products. Cream blush and liquid highlighter will look better on you than powder formulas.
Combination skin
Treat different zones differently. Mattify the T-zone with a light primer, use a hydrating base on cheeks, and apply powder only where you need it.
Sensitive skin
Look for fragrance-free, hypoallergenic formulas. Mineral makeup is often well-tolerated by sensitive skin. Patch test new products before using them on your face (see below).
Patch test
Before using a new makeup product more widely, patch test it: apply a small amount to the underside of your arm or the bend of your elbow, twice a day, for 7 to 10 days. If you get redness, itching, swelling or a rash, stop using it. A 24-hour test can miss an allergic reaction, which often takes several days to appear — that is why this guide uses the AAD 7–10 day patch-test method. This is the American Academy of Dermatology’s patch-test method.
Summary
Creating a natural makeup look for everyday wear comes down to a simple philosophy: enhance, do not mask. Good skin prep sets you up for success, lightweight products let your skin show through, and strategic colour placement makes you look healthy and refreshed.
You do not need an expensive collection of products or hours of practice. Start with the basics — a good moisturiser with SPF, a sheer base, concealer, mascara, and blush — and adjust from there based on what works for your skin. Try the routine for a full week before deciding whether it suits you. No product in this guide was tested by us, and no brand is recommended.
FAQ
Q1: How long does a natural makeup look take to apply?
Once you have practised a few times, a complete natural makeup routine typically takes 5 to 10 minutes. Skin prep (moisturiser and sunscreen) takes the most time simply because you want products to absorb before applying makeup. The actual makeup steps — base, concealer, brows, mascara, blush, and lips — move quickly when you use minimal products.
Q2: What is the difference between “natural makeup” and wearing no makeup?
Natural makeup uses products strategically to even out your skin tone, define features like brows and lashes, and add a healthy-looking flush. The goal is to look like a slightly enhanced version of yourself. Wearing no makeup means your bare skin, without any products at all. The “no-makeup makeup” technique creates the illusion of wearing nothing while subtly improving your appearance.
Q3: Can I create a natural everyday look if I have acne or hyperpigmentation?
Yes. Use a light-coverage base for general evening, then spot-conceal specific areas with a targeted concealer. Patting concealer directly onto blemishes and dark spots gives you coverage where you need it while keeping the rest of your face looking natural. Avoid heavy full-coverage foundation, which tends to look less natural and can draw more attention to texture.
Q4: What are the best products for a beginner starting a natural makeup routine?
Start with five core products: a tinted moisturiser or BB cream, a creamy concealer, a brown or black-brown mascara, a cream blush, and a tinted lip balm. These cover all the essentials without overwhelming you with choices. As you get more comfortable, you can add brow gel, a neutral eyeshadow, and setting spray. Remember that the SPF in a tinted moisturiser or BB cream is not a substitute for sunscreen — apply sunscreen first.
Q5: Should I skip makeup entirely if I have sensitive or acne-prone skin?
Not necessarily. Many makeup products today are formulated specifically for sensitive and acne-prone skin. Look for labels like “non-comedogenic” and “fragrance-free” — but know that “non-comedogenic” and “dermatologist-tested” are not regulated or standardised terms; they are manufacturers’ claims, not guarantees a product will not clog pores or suit your skin. Mineral makeup formulas tend to be gentler on reactive skin. That said, if a particular product causes breakouts or irritation, stop using it and consult a dermatologist if the reaction persists.
Sources: AAD sunscreen guidance (broad-spectrum SPF 30 or higher, reapply every two hours outdoors); AAD patch-test method; Hughes et al. 2013 (daily sunscreen use and skin ageing); FDA guidance on eye cosmetics (discard mascara about three months after purchase; never add water or saliva to dried mascara); American Academy of Ophthalmology guidance on eye makeup (discard eye makeup after three months; remove eye makeup before sleeping). This is a researched overview, not a hands-on review.