
Researched overview. This guide is based on published dermatology guidance, not on hands-on product testing by BeautyKob. No product in this guide was tested by us, and no brand is recommended.
Table Of Content
- Quick answer
- Why foundation looks flaky on dry skin
- Skin prep before makeup
- Step 1: Gentle, non-foaming cleansing
- Step 2: Gentle surface exfoliation (lactic acid or PHA)
- Step 3: Layering humectants on damp skin
- Step 4: Sealing with ceramide-rich emollients
- Step 5: Dewy sunscreen and hydrating primer
- Choosing foundation for dry skin
- What to look for in foundation formulas
- The damp sponge technique
- Concealing and colour products for flaky skin
- Strategic spot concealing
- Cream and liquid colour
- Setting without powder
- Why powder is a problem for dry skin
- The targeted powder method (if you must set)
- Hydrating setting sprays
- Midday rescue: fixing flaky foundation without starting over
- Your step-by-step hydrating makeup routine
- Common mistakes that make dry skin worse
- Patch test
- Summary
- FAQ
- Q1: Why does my foundation look patchy as soon as I apply it?
- Q2: Can I mix facial oil directly into my foundation?
- Q3: What kind of applicator is best for flaky skin?
- Q4: Should I completely avoid setting powder if I have dry skin?
- Q5: How do I stop my under-eye concealer from looking dry and creased?
Quick answer
Flaky foundation on dry skin is usually a skin-prep problem, not a foundation problem. The routine that works is: gentle cleansing, humectants on damp skin, a ceramide-rich moisturiser to seal the water in, broad-spectrum sunscreen SPF 30 or higher, a dewy or satin base applied with a damp sponge, cream colour instead of powder, and a hydrating setting mist instead of heavy powder.
If your skin is red, sore, or has open sores or a rash, skip makeup on the affected area and ask a dermatologist or pharmacist first. Stop using any product that stings, burns, or causes redness or swelling. This guide is general information, not medical advice.
Contents: Why foundation looks flaky on dry skin · Skin prep before makeup · Choosing foundation · The damp sponge technique · Concealer and colour · Setting without powder · Midday rescue · Step-by-step routine · Common mistakes · Patch test · FAQ
Why foundation looks flaky on dry skin
Healthy skin has a smooth outer layer, the stratum corneum — skin cells held together by a lipid matrix of ceramides, cholesterol and fatty acids. When skin is dry or dehydrated, that matrix is depleted and the surface becomes uneven. Foundation applied over unprepared dry skin settles around raised, dry edges and looks patchy.
Dry skin also takes up the liquid part of a foundation quickly, leaving dry pigment sitting on the surface. Cold winter air, indoor heating, harsh cleansers and hot showers strip surface moisture further. The aim of the routine below is to hydrate the surface and coat it with a flexible emollient layer before any pigment touches it. Skincare prep is the biggest single factor in how makeup looks on dry skin — more important than the foundation itself.
Skin prep before makeup
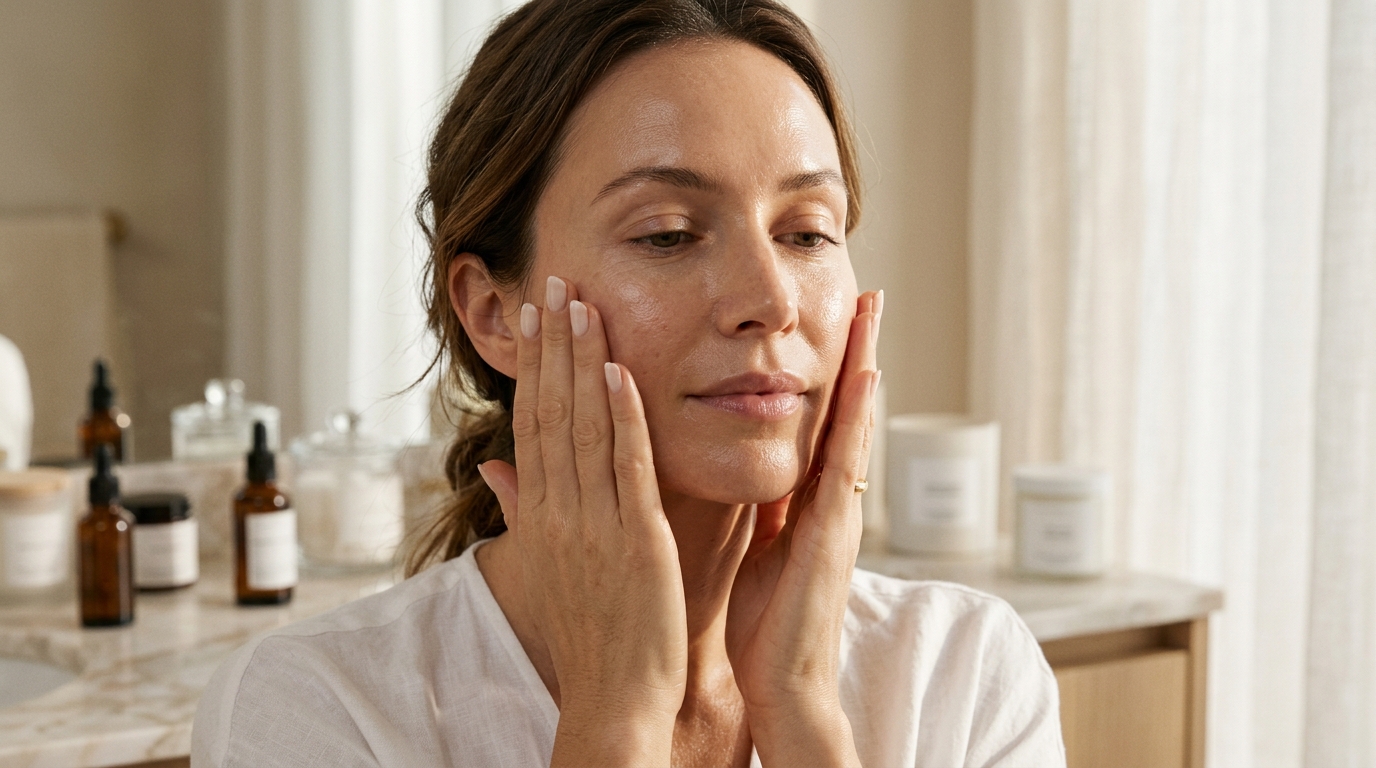
Step 1: Gentle, non-foaming cleansing
If your skin feels tight or parched after washing, your cleanser is stripping your lipid barrier. Use a milky, cream-based or oil-based cleanser instead of a harsh foaming one, and wash with lukewarm water — hot water strips the natural fats your skin needs to hold moisture.
On mornings when your skin feels especially dry, a rinse with lukewarm water is enough to remove overnight residue. This is an option, not a rule — if you prefer to cleanse, use the gentlest cleanser you have.
Step 2: Gentle surface exfoliation (lactic acid or PHA)
Do not attack dry, flaky skin with coarse face scrubs made of walnut shells or gritty beads. Aggressive scrubbing can irritate the skin and make foundation look more uneven.
Instead, use a gentle chemical exfoliant containing lactic acid or a polyhydroxy acid (PHA). Lactic acid dissolves the bonds holding dead skin flakes together and also attracts water. Use a low-strength lactic acid or PHA product two to three evenings a week. Do not exfoliate on the same night as a retinoid when you are starting out, and stop if your skin stings or peels.
Step 3: Layering humectants on damp skin
Humectants pull water into the skin. Common examples are hyaluronic acid, glycerin, panthenol (vitamin B5) and beta-glucan. Apply a humectant serum onto damp skin — lightly spritz your face with water or an alcohol-free essence first, then press the serum in with gentle upward motions.
In very dry air, a humectant on its own can feel drying, because there is little moisture in the air for it to draw on. That is why the next step matters: always seal a humectant in with a moisturiser.
Step 4: Sealing with ceramide-rich emollients
A hydrating serum without a moisturiser on top lets the added water evaporate. Follow immediately with a rich moisturiser containing ceramides, squalane or shea butter. Ceramides help smooth down lifted flakes. Use about a nickel-sized amount, massage it gently into your cheeks, forehead and jawline, and allow your skincare three to five minutes to settle before applying makeup. Makeup applied over still-wet moisturiser tends to slide or pill.
Step 5: Dewy sunscreen and hydrating primer
Finish your prep with a broad-spectrum sunscreen with SPF 30 or higher, in a dewy or hydrating finish. Chemical sunscreen formulas or mineral sunscreens made with hydrating ingredients glide across dry patches without leaving a chalky cast. Let the sunscreen set for a couple of minutes before applying base products, and reapply every two hours when you are outdoors.
If you use a primer, avoid products marked “pore-blurring”, “oil-control” or “mattifying” — these often contain silica powders that absorb oil and can make dry skin feel drier. Instead, choose a luminous, water-based or oil-infused hydrating primer.
Choosing foundation for dry skin
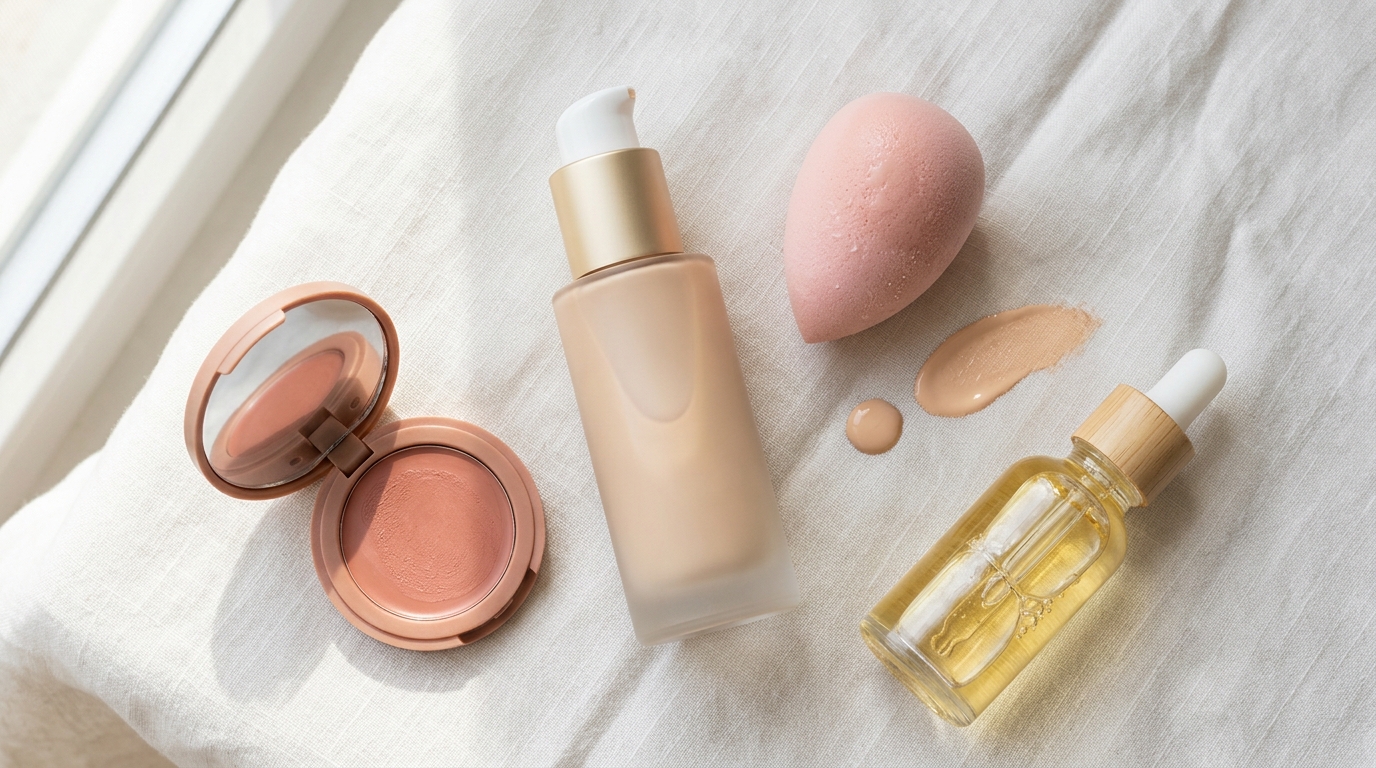
The formula you select and the tools you use decide whether your makeup sits like a dewy second skin or cracks into dry patches.
What to look for in foundation formulas
Avoid matte, velvet, long-wear and powder foundations. Instead, look for:
- Dewy, luminous or radiant finishes: These reflect light, which naturally softens the look of fine lines and uneven surface texture.
- Serum foundations and skin tints: Light-to-medium pigment in a nourishing base of hyaluronic acid and plant oils. They offer breathable, buildable coverage that flexes with facial expressions.
- Nourishing ingredients: Squalane, jojoba oil, glycerin, aloe vera and vitamin E high on the ingredient list.
- Avoid denatured alcohol: If alcohol (denatured alcohol or alcohol SD-40) is listed in the first five ingredients, the formula is more likely to feel drying. Check the label rather than trusting the marketing.
The damp sponge technique
Foundation brushes have hundreds of tightly packed bristles. Swept across dry skin, the bristles can lift the edges of dry skin cells and make flaking more visible. A damp beauty sponge is usually the better applicator for dry skin:
- Soak a teardrop makeup sponge under running warm water until it expands.
- Squeeze out the excess moisture with a clean hand towel. The sponge should feel cool and slightly damp, not wet.
- Dispense one pump of foundation onto the back of your hand.
- If your skin is exceptionally dry, add half a drop of a light facial oil such as jojoba oil or squalane into the foundation and mix them on your hand.
- Dip the rounded base of the damp sponge into the foundation and stipple (gently bounce) the product onto your face.
- Bouncing presses pigment onto the skin in a thin layer and presses dry flakes flat, rather than sweeping them up.
Concealing and colour products for flaky skin
Heavy, drying concealers and chalky powder blushes can undo all the prep work.
Strategic spot concealing
Under-eye skin is naturally the thinnest area on the body and has few oil glands. Thick, matte concealers under the eyes tend to look crepey. Choose a lightweight, serum-infused liquid concealer with a radiant finish. Apply only where necessary: a tiny dot in the inner tear duct hollow and a small dab at the outer corner of the eye. Blend gently with your ring finger — the warmth of your fingertip helps the product melt in.
For dry blemishes or healing spots, do not pack on layers of dry concealer. Dab a tiny touch of rich moisturiser directly onto the spot, wait about a minute, apply a dab of hydrating concealer with a fine brush, and feather the edges outward.
Cream and liquid colour
Powder blush, bronzer and highlighter sit on top of dry skin and accentuate roughness. Use cream or liquid alternatives instead:
- Cream blush: Sticks or pots melt into foundation. Dab a small amount onto the apples of your cheeks and blend upward toward the temples with your damp sponge.
- Liquid bronzer: A liquid or gel bronzer warms fair or dull complexions without a dusty, muddy shadow.
- Balm highlighters: Skip highlighters with chunky glitter or micro-shimmer, which settle into texture. Choose a clear highlighting balm or a dewy liquid highlighter.
Setting without powder

One of the most persistent makeup myths is that every liquid base must be heavily powdered. On dry skin, packing on translucent powder often makes flaking worse.
Why powder is a problem for dry skin
Standard translucent setting powders use talc, cornstarch or silica to absorb surface oils and sweat. On dry skin that produces little oil, these powders can absorb the skin’s moisture instead, and the foundation underneath can look cracked and textured as the day goes on.
The targeted powder method (if you must set)
If you need powder to stop mascara from transferring or to set smile lines, apply it with precision:
- Use a micro-fine, silica-free pressed powder made with hyaluronic acid or squalane.
- Pick up a tiny amount on a small, fluffy eyeshadow blending brush.
- Tap off all excess powder on the back of your hand.
- Lightly press — never sweep — the brush directly onto high-movement creases (under the eyes or along smile lines). Leave your cheeks, forehead and jawline completely powder-free.
Hydrating setting sprays
Instead of powder, use a hydrating setting mist. Setting sprays for dry skin often contain humectants like glycerin and soothing ingredients like rosewater or aloe vera, with light polymers that form a flexible layer over makeup.
Hold the bottle about ten inches away from your face. Close your eyes and mist across your face in a circular motion. As the fine mist settles, it softens any powdery residue and binds the foundation layers together, leaving a soft, dewy finish. A setting spray helps makeup last longer; it does not make it waterproof or smudge-proof.
Midday rescue: fixing flaky foundation without starting over
Even with careful prep, dry winter air or air-conditioned offices can cause dry patches to appear by mid-afternoon. Refresh your face without washing everything off:
- Do not add powder: More powder over flaky areas will cling to the dry skin and turn chalky.
- Mist first: Spray a fine hydrating mist across your face to reintroduce water to the dried makeup layer.
- Use a drop of facial oil: Place a single drop of squalane or argan oil onto the back of your hand. Tap the oil with your ring finger and press it directly onto the flaky patch. The oil softens the dry area so you can smooth it.
- Smooth with a sponge: Take the clean edge of a slightly damp makeup sponge and gently tap over the area to smooth down the edges and blend the pigment back into your skin.
Your step-by-step hydrating makeup routine
| Step | Action | Product type | Purpose |
|---|---|---|---|
| 1. Cleanse | Wash with lukewarm water or a milky cleanser | Non-foaming cream cleanser | Preserves the skin barrier |
| 2. Hydrate | Apply to damp skin with gentle pressing | Hyaluronic acid / glycerin essence | Adds water to the skin |
| 3. Seal | Massage into face and neck | Ceramide and squalane barrier cream | Seals water in and smooths flakes |
| 4. Protect | Apply broad-spectrum sunscreen | Dewy SPF 30 or higher | Shields against UV |
| 5. Prep | Apply a thin veil over dry areas | Water-based luminous hydrating primer | Creates a smooth base |
| 6. Base | Stipple with a warm, damp sponge | Serum foundation or radiant skin tint | Melts into skin without catching flakes |
| 7. Conceal | Tap inner eye corners with ring finger | Radiant, lightweight serum concealer | Brightens without creasing |
| 8. Colour | Blend onto cheekbones with sponge | Cream blush and balm highlighter | Adds healthy dimension and shine |
| 9. Set | Mist in a circular motion | Glycerin-infused hydrating setting spray | Holds makeup in a flexible layer |
Common mistakes that make dry skin worse
- Applying foundation over dry flakes: Covering an active flake with foundation only highlights it. Address the flake during skincare prep with a warm damp cloth or gentle chemical exfoliant before applying makeup.
- Using matte or “long-wear” foundations: Matte formulas tend to dry down quickly and can feel tight on dry skin within minutes. Choose a dewy or satin finish instead.
- Over-baking with loose powder: Leaving mounds of loose powder on dry under-eyes creates creases that last all day.
- Skipping primer on rough patches: Foundation needs a smooth layer to glide over dry cheeks. A hydrating primer acts as that buffer.
Patch test
Before using a new makeup or skincare product more widely, patch test it: apply a small amount to the underside of your arm or the bend of your elbow, twice a day, for 7 to 10 days. If you get redness, itching, swelling or a rash, stop using it. A 24-hour test can miss an allergic reaction, which often takes several days to appear — that is why this guide uses the AAD 7–10 day patch-test method. This is the American Academy of Dermatology’s patch-test method.
Summary
Flaky foundation on dry skin is a prep problem before it is a product problem. Hydrate on damp skin, seal with ceramides, choose a dewy or satin base, apply with a damp sponge, use cream colour, and set with a hydrating mist instead of heavy powder. Give the routine a full week before judging it — skin and makeup both take a few days of steady use to show what they can do. No product in this guide was tested by us, and no brand is recommended.
FAQ
Q1: Why does my foundation look patchy as soon as I apply it?
Foundation looks patchy when the skin beneath it is unevenly hydrated. Dry skin takes up the water base of a foundation quickly, leaving unblended pigment behind. Apply a rich moisturiser to damp skin and allow it about three minutes to settle before applying foundation.
Q2: Can I mix facial oil directly into my foundation?
Yes. Mixing one to two drops of a lightweight facial oil (such as squalane, jojoba or rosehip oil) into liquid foundation on the back of your hand is a common technique for dry skin. It adds slip and a dewy finish. Use only a drop or two — more oil can make the foundation slide.
Q3: What kind of applicator is best for flaky skin?
A damp makeup sponge is usually the best tool for flaky skin. Brush bristles can sweep against dry skin and lift the edges of dry cells, creating visible flakes. A damp sponge uses bouncing, stippling motions that press flakes flat while depositing a thin layer of pigment.
Q4: Should I completely avoid setting powder if I have dry skin?
You do not need to avoid powder entirely, but avoid dusting it all over your face. Apply a micro-fine, hydrating pressed powder only to areas prone to creasing (such as right beneath the lower lash line or smile lines) with a small, fluffy brush. Keep cheeks, forehead and jawline powder-free.
Q5: How do I stop my under-eye concealer from looking dry and creased?
Under-eye skin has few oil glands and becomes crepey when layered with heavy matte concealers. Prep the under-eye area with a lightweight eye cream and let it absorb fully. Use a hydrating serum concealer with a dewy finish, apply just one or two small dots, blend with the warmth of your fingertip, and skip heavy powder baking.
Sources: AAD sunscreen guidance (broad-spectrum SPF 30 or higher, reapply every two hours outdoors); AAD patch-test method; AAD guidance on dry skin (moisturise on damp skin, fragrance-free creams over lotions); AAD guidance on exfoliation (gentle chemical exfoliants, low-strength, stop if skin stings). This is a researched overview, not a hands-on review.