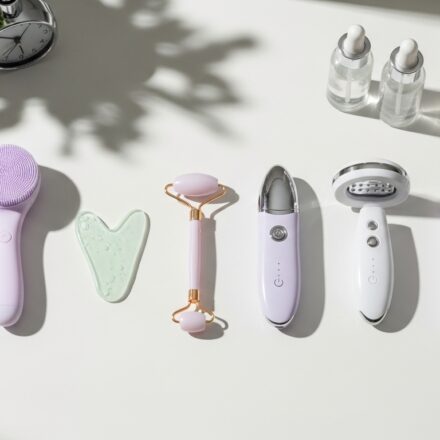

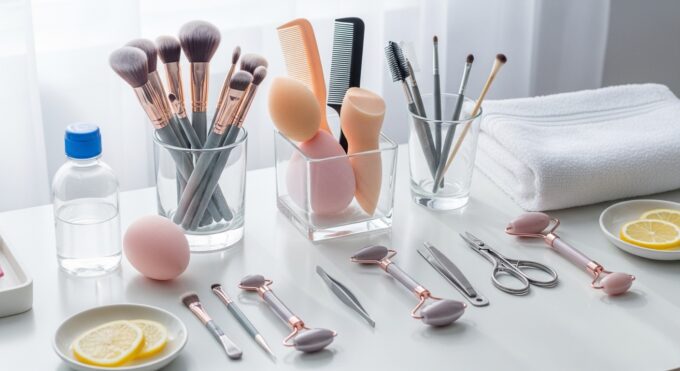
Researched overview. This guide is based on published public-health guidance, not on hands-on product testing by BeautyKob. No product in this guide was tested by us.
Table Of Content
- Quick answer
- Cleaning, disinfecting, sterilizing — three different jobs
- Pre-cleaning: the step most people skip
- Disinfecting with 70% isopropyl alcohol
- What vinegar and lemon do — and do not do
- Drying: the step that decides whether it worked
- Storage
- Cleaning by tool type
- Makeup brushes
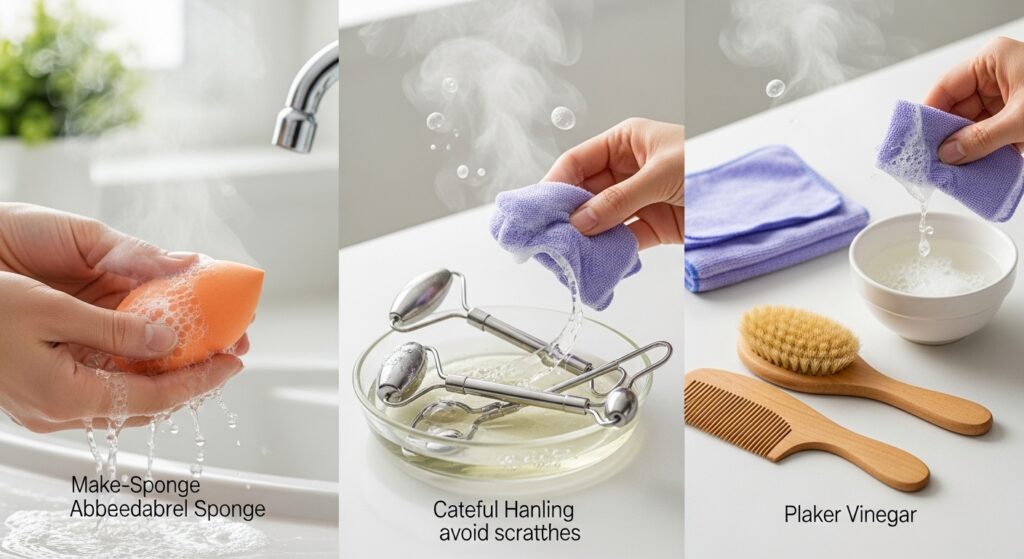
- Makeup sponges
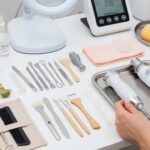
- Metal and glass tools
- Wooden tools
- Hair tools
- Nail tools
- Eye tools
- A realistic routine
- When to replace a tool
- Mistakes that undo the work
- Skin care after cleaning — a short note
- When to get help
- Summary
Quick answer
Beauty tools touch your skin, hair and nails every day. Brushes collect makeup and oil. Combs collect hair product and dead skin. Nail tools collect skin from the cuticles. Left alone, that residue feeds bacteria, fungi and mould — and a dirty tool rubs those germs back onto clean skin. The result is breakouts, irritation, scalp itch, nail problems and eye infections that seem to come from nowhere.
The fix is a routine, not a product: clean the tools, disinfect them, dry them fully, and store them dry. This guide covers what each of those words actually means, safe methods for every tool material, and the mistakes that undo the work.
One honest fact first: you cannot truly sterilize tools at home. Sterilization destroys all microbial life, including spores, and it needs hospital equipment such as an autoclave. What you can do at home is clean and disinfect — remove the dirt, then reduce the germs to a level that is safe for personal use. That is enough for tools that only touch your own skin. The title keeps the word “sterilize” because that is what people search for; the method in this guide is honest cleaning and disinfecting.
Cleaning, disinfecting, sterilizing — three different jobs
These words are often used as if they mean the same thing. They do not.
- Cleaning removes visible dirt, makeup, oil and product residue. Soap and water clean. Cleaning does not kill germs — it removes the dirt germs live in.
- Disinfecting kills germs on a surface. A disinfectant destroys bacteria and many viruses on contact, at a tested rate, within a set contact time. At home, 70% isopropyl alcohol is the practical disinfectant for beauty tools.
- Sterilizing destroys all microbial life, including bacterial spores. It needs an autoclave or similar equipment. No home method achieves it, and no home method should claim to.
The order matters: disinfecting only works on a clean surface. Alcohol cannot reach germs hiding under makeup, hair product or dead skin. Pre-clean first, then disinfect, then dry.
Pre-cleaning: the step most people skip
Every tool must be washed before it is disinfected. Foundation sits deep in brush bristles. Styling product packs around the base of a hairbrush. Dead skin collects in the grooves of nail tools. Spraying alcohol over that buildup does not reach the germs underneath it.
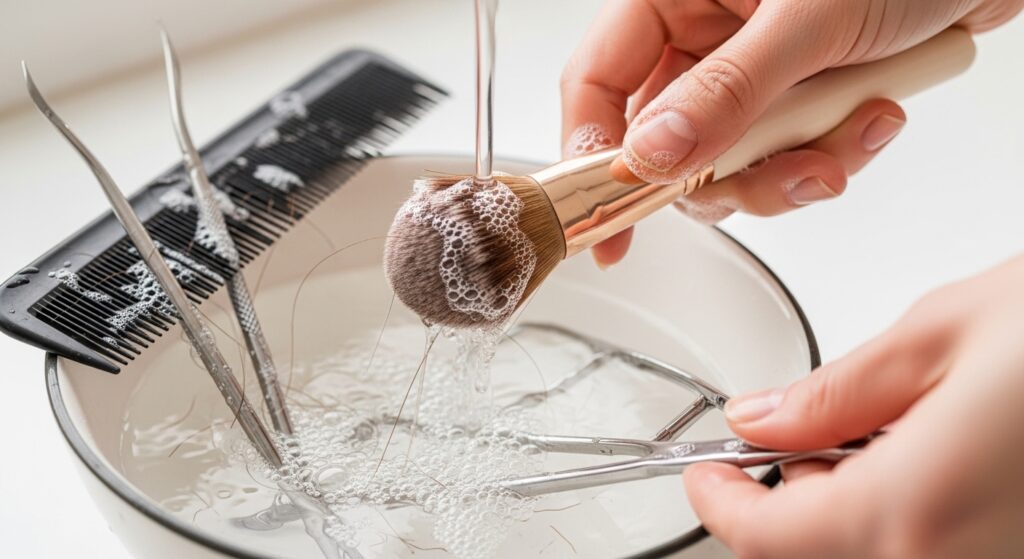
How to pre-clean:
- Rinse with warm water to loosen debris. Warm water dissolves oils without damaging the tool. Very hot water can weaken glue and warp wooden handles; cold water does not dissolve oils well.
- Wash with mild soap. Work the soap through brush bristles with your fingers, scrub combs and clips with a soft brush, and rinse metal nail tools to remove visible debris.
- Rinse well and do not soak for long. Do not leave tools sitting in water: long soaking softens handles, loosens glued bristles and rusts metal. Wash, rinse, and move on to disinfecting.
Be gentle. Hard scrubbing sheds bristles, bends comb teeth and loosens glued parts. The goal is to remove visible residue without harming the tool.
Disinfecting with 70% isopropyl alcohol
Rubbing alcohol is the practical home disinfectant for beauty tools: it is cheap, widely available, and effective on clean surfaces. Use 70% isopropyl alcohol — not 90% or higher.
The concentration matters. Pure or near-pure alcohol evaporates too fast and coagulates the proteins on the outside of a germ, which can shield the inside and leave it alive. The water in a 70% solution slows evaporation, gives the alcohol time to work, and helps it penetrate the germ. The Centers for Disease Control and Prevention (CDC) puts the most effective range at 60–90% alcohol in water, and 70% is the usual standard. One limit to know: alcohol does not kill bacterial spores.
How to use it safely:
- Brushes: wipe or spray the bristles lightly. Do not soak the brush up to the ferrule (the metal strip holding the bristles) — alcohol and water sitting in the glue weakens it.
- Metal tools (tweezers, nail clippers, extractors, metal combs): wipe or dip briefly in a small dish of alcohol, then dry.
- Hard plastic tools: wipe with alcohol and let dry.
- Keep the surface wet briefly. The alcohol needs contact time to work — at least 30 seconds wet is a reasonable rule for tools. Do not wipe it off immediately.
- Let it dry fully. Alcohol evaporates on its own. Do not use a tool while it is still wet with alcohol.
- Alcohol is flammable. Use it away from flames and in a ventilated room. Do not use it near a lit candle or a gas hob.
Do not use household bleach on beauty tools. Bleach corrodes metal, damages bristles and sponges, and irritates skin. It is a household disinfectant, not a beauty-tool cleaner.
What vinegar and lemon do — and do not do
Vinegar and lemon juice appear in many home-cleaning guides as sterilizers. They are not.
Vinegar is a useful cleaner: its acetic acid dissolves grease, mineral deposits and grime. It kills some germs, such as E. coli and Salmonella, but it is not registered with the US Environmental Protection Agency (EPA) as a disinfectant, and it does not meet the disinfectant standard of killing 99.9% of harmful germs within 5 to 10 minutes. It does not reliably kill many other germs, including the virus that causes COVID-19. Use vinegar for cleaning if you like; do not rely on it to disinfect.
Lemon juice is not a disinfectant either. It is an acid that can help lift dirt, but it does not sterilize tools, and it has no place in a disinfecting routine. Lemon juice on skin is also dangerous — it can cause a sun-triggered burn called phytophotodermatitis — so do not use lemon methods on anything that touches your skin.
The rule is simple: soap and water clean, 70% alcohol disinfects, and nothing at home sterilizes. Natural does not mean effective, and a method that feels gentle is not automatically safe.
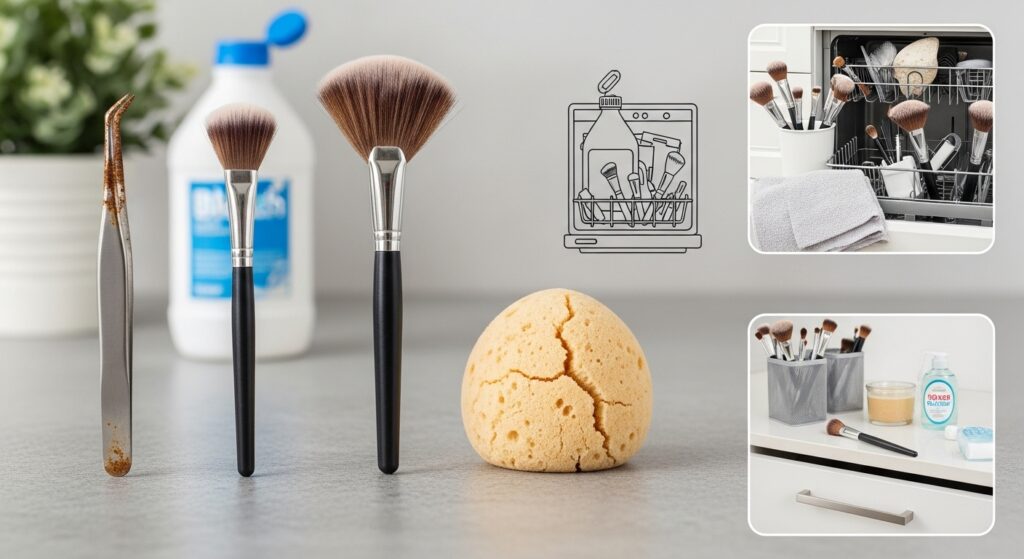
Drying: the step that decides whether it worked
A disinfected tool kept wet becomes a breeding ground again. Mould and bacteria grow fast on damp bristles, metal and sponges.
- Brushes: lay them flat or at an angle on a clean towel, bristles pointing slightly down, so water does not run into the ferrule. Let them dry in a ventilated place.
- Hairbrushes: leave them bristles-down so water drains out.
- Metal and nail tools: air-dry fully on a clean towel or wire rack.
- Sponges: squeeze out the water and let them dry in the open air. Do not store a damp sponge in a closed container.
Do not put wet tools into closed boxes or drawers, do not stack wet brushes bristle to bristle, and do not mix disinfected tools with dirty ones. A tool is only clean when it is dry.
Storage
Store tools clean and dry, in a clean, dust-free place. Open-top containers or breathable pouches are the best choice. Do not store tools in a humid bathroom where moisture returns — a bedroom drawer or a dry shelf is better.
Keep a separate place for clean tools so they are never mixed with used ones. A small box or pouch for clean tools only is enough to make the habit work.
Cleaning by tool type
Makeup brushes
Remove makeup from the bristles with mild soap and warm water after use, or at least once a week for brushes used daily. Wipe the bristles lightly with 70% alcohol after washing, and let them dry flat. Do not soak the brush up to the ferrule. Replace a brush when it sheds bristles, loses its shape, or the handle loosens.
Makeup sponges
Sponges absorb product and hold moisture inside, which makes them the hardest tool to keep clean. Wash them with mild soap and warm water after each use, squeeze them out, and let them dry in the open air. Replace them regularly — every few weeks for a sponge used daily, or sooner if it tears, smells, or stays stained after washing. Do not steam or microwave sponges: it risks burns, fire and melting, and heats unevenly. A sponge that cannot be cleaned is a sponge to throw away.
Metal and glass tools
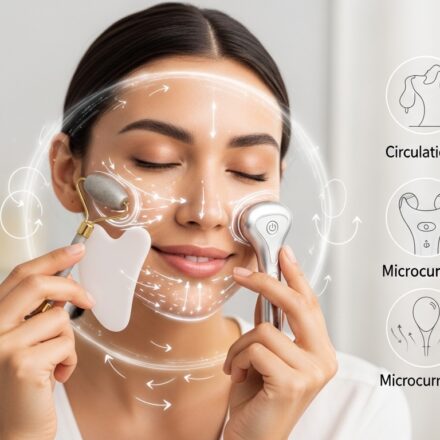
Facial rollers, extractors, tweezers and metal combs are the easiest tools to disinfect: pre-clean, wipe with 70% alcohol, and let dry. Do not scrub them hard — scratches give bacteria places to hide. Boiling water is only for heat-safe metal tools, never for wood, glued or plastic tools.
Wooden tools
Wooden handles and wooden combs must not be soaked. Wash them quickly with mild soap and warm water, wipe them dry at once, and let them air-dry fully. A quick wipe with alcohol is fine; a long soak will warp or crack the wood.
Hair tools
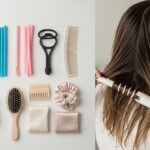
Hairbrushes and combs collect hair, oil and styling product. Remove all trapped hair first — a comb or an old toothbrush works for this — then wash with mild soap and warm water, wipe the bristles or teeth with 70% alcohol, and let them dry bristles-down. Wooden brush bases must not be left soaking; they will bend. Check regularly for sharp or broken bristles and replace the brush when they appear.
Nail tools
Nail tools are high-risk: they touch skin, cuticles and nails directly, and a dirty clipper or file can cause infection, discolouration or painful nails. Pre-clean to remove dead skin from the grooves, wipe metal tools with 70% alcohol, and let them dry fully before storing them in their own container. Replace files when they go blunt, scissors when they go dull, and any tool that rusts. Do not use nail tools on broken or infected skin.
Eye tools
Mascara wands, eyelash curlers and eye brushes touch the most sensitive area on the face. Keep them clean and dry, wipe them with 70% alcohol after washing, and never share them. Do not use eye tools when you have an eye infection, and replace a mascara wand if it has touched an infected eye. Eye infections spread easily through shared tools.
A realistic routine
Daily (a few minutes): wipe the tools you used today with 70% alcohol after pre-cleaning, and put them away dry. Wash makeup sponges after each use.
Weekly: wash brushes, sponges, combs and hair tools with mild soap and warm water, disinfect with alcohol, and dry fully in the open air.
Monthly: inspect every tool for wear — shedding bristles, torn sponges, rust, blunt files, cracked handles, loose glue. Replace anything worn, rusted or broken. A broken tool cannot be made safe by cleaning it, and using one can cause injury.
When to replace a tool
Sterilizing cannot save a worn-out tool. Replace it when: a brush sheds bristles or loses its shape; a sponge tears, smells, or stays stained after washing; a metal tool rusts; a file goes blunt or a scissor goes dull; a wooden handle cracks or warps; or a glued part comes loose. Good maintenance extends a tool’s life, but every tool has an end, and using it past that end undoes the hygiene.
Mistakes that undo the work
- Skipping pre-cleaning. Disinfectant cannot reach germs under makeup or product residue.
- Using vinegar or lemon as a disinfectant. They clean; they do not disinfect reliably.
- Soaking tools for hours. Long soaking softens handles, loosens glue and rusts metal.
- Storing tools wet. Moisture breeds bacteria faster than any cleaning can prevent.
- Sharing personal tools. Everyone’s skin carries different germs. Do not share brushes, sponges, tweezers or nail tools.
- Using tools on broken skin. Do not use any beauty tool on cuts, sores, rashes or infected skin — it spreads infection and slows healing.
- Steaming or microwaving sponges. It risks burns and fire and does not clean evenly. Replace the sponge instead.
- Using bleach. It corrodes metal, damages bristles and sponges, and irritates skin.
Skin care after cleaning — a short note
Clean tools are one half of the job. The other half is the skin itself: a gentle cleanser, a moisturiser, and a broad-spectrum sunscreen with SPF 30 or higher every morning, reapplied every two hours when outdoors.
If your skin reacts after using a tool — redness, itching, swelling or a rash — stop using that tool and that product. Patch test any new product before you use it on your face: apply a small amount to a quarter-sized patch of skin on the inside of your arm or the bend of your elbow, twice a day for 7 to 10 days. The American Academy of Dermatology recommends this length because allergic reactions can take several days to appear, and a 24-hour test can miss them.
When to get help
See a doctor or pharmacist promptly if: the skin around a nail becomes red, swollen, painful or starts to ooze; a cut or sore from a tool does not heal; an eye becomes red, painful, swollen or starts to discharge after using an eye tool; or a scalp problem — itching, sores or hair loss — does not settle. These can be signs of infection, and infections need medical care, not a different cleaning method. Do not try to treat an infection by cleaning the tool harder.
Summary
Clean first, disinfect second, dry fully, store dry. Soap and warm water clean; 70% isopropyl alcohol disinfects; nothing at home sterilizes, and no home method should claim to. Vinegar and lemon juice are cleaners, not disinfectants. Do not soak tools for hours, do not store them wet, do not share them, do not use bleach, and do not steam or microwave sponges — replace them instead. Wash brushes and sponges weekly, inspect everything monthly, and replace anything worn, rusted or broken. Clean tools protect your skin, scalp, nails and eyes — and if a reaction or infection appears, see a doctor or pharmacist.
Sources: American Academy of Dermatology, 7 Rosacea skin care tips (patch-test method: apply a new product to a quarter-sized patch of skin on the inside of the arm for 7–10 days); American Academy of Dermatology, How to select anti-aging skin care products (broad-spectrum sunscreen, SPF 30 or higher every morning, reapply every two hours outdoors). This is a researched overview, not a hands-on review.