
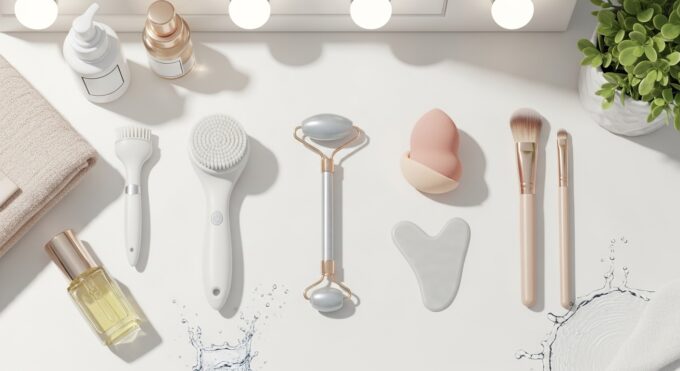
Table Of Content
- Quick answer
- What makes a tool beginner-friendly
- The starter kit
- Skincare tools: how to use each one for the first time
- Silicone cleansing brush
- Soft manual facial brush
- Exfoliation pads and sponges
- Face rollers
- Gua sha tools
- Makeup tools: how to use each one for the first time
- Face brushes
- Eye brushes
- Makeup sponges and blenders
- Small tools that make a difference
- The order: skincare first, then makeup
- Your first week: a morning and evening routine
- Choosing tools by skin type
- How often is enough
- Cleaning and caring for your tools
- Mistakes beginners make, and how to avoid them
- Budget and upgrading
- Patch test first
- Frequently asked questions
- When to get help
- The bottom line
Researched overview. This guide is based on published dermatology guidance, not on hands-on product testing by BeautyKob. No product in this guide was tested by us.
Quick answer
A beginner does not need a drawer full of tools. A small starter kit — a silicone cleansing brush, an exfoliation pad, a face roller, one foundation brush, one blush or powder brush, one eye blending brush and one makeup sponge — covers almost everything a daily routine needs. The order matters more than the number of tools: skincare first, then makeup, because makeup sits better on clean, moisturised, protected skin.
Learn one tool at a time. Use it lightly, keep it clean, and give it a few weeks before deciding whether it helps. Tools do not change skin or makeup on their own — they make a good routine easier and more even. They do not increase how well products absorb, drain lymph, or firm skin, and no tool replaces sunscreen.
What makes a tool beginner-friendly
A beginner-friendly tool has three traits. First, it is easy to hold and control — you can feel what it is doing and stop before it hurts. Second, it is forgiving — a slightly wrong movement does not damage your skin. Third, it is mild — it works through gentle touch, not force, heat or vibration.
Tools that need practice, strong pressure control, or experience reading skin reactions are not beginner tools. Sharp tools, strong exfoliation devices, microcurrent and LED devices, and home microdermabrasion belong later, once you know how your skin reacts to the basics. Starting simple is not a compromise — it is how you learn what your skin actually needs.
The starter kit
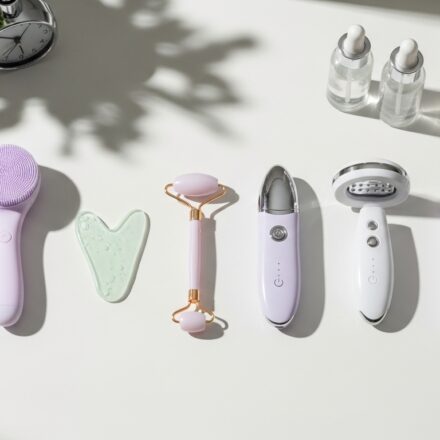
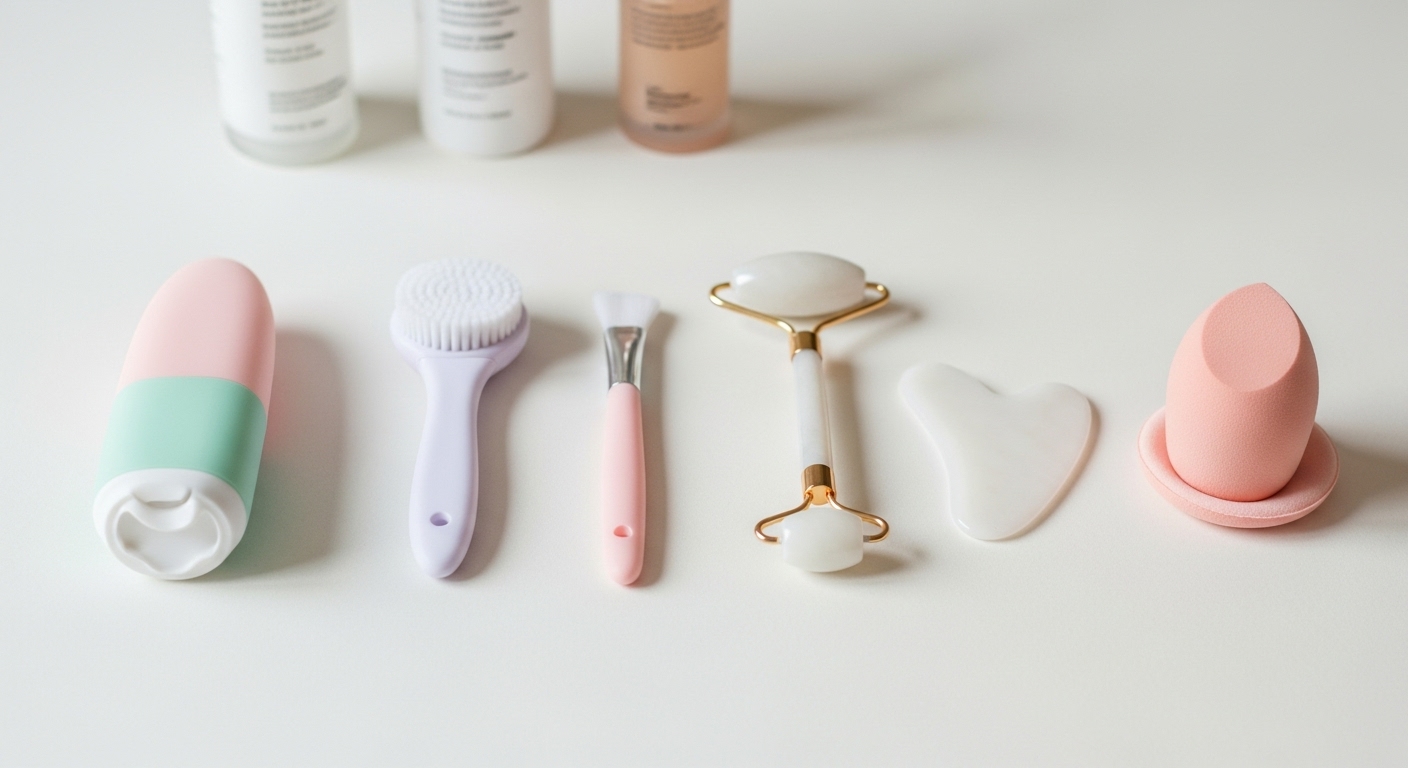
Start with a small kit and learn it properly before adding anything. A practical starter kit is:
- Silicone cleansing brush — for washing.
- Exfoliation pad or sponge — for gentle exfoliation once or twice a week.
- Face roller — for a short, soothing massage.
- One foundation brush or flat-top brush — for foundation.
- One blush or powder brush — for blush and powder.
- One eye blending brush — for eyeshadow.
- One makeup sponge — for blending foundation and concealer.
- Eyelash curler and brow brush — small tools that make a visible difference with very little skill.
That is enough. A full brush set, a gua sha stone, and extra gadgets can wait until the basics feel easy. One tool learned well does more than five tools used badly.
Skincare tools: how to use each one for the first time
Skincare comes first. Healthy, clean skin is what makes makeup look good, even without foundation.
Silicone cleansing brush
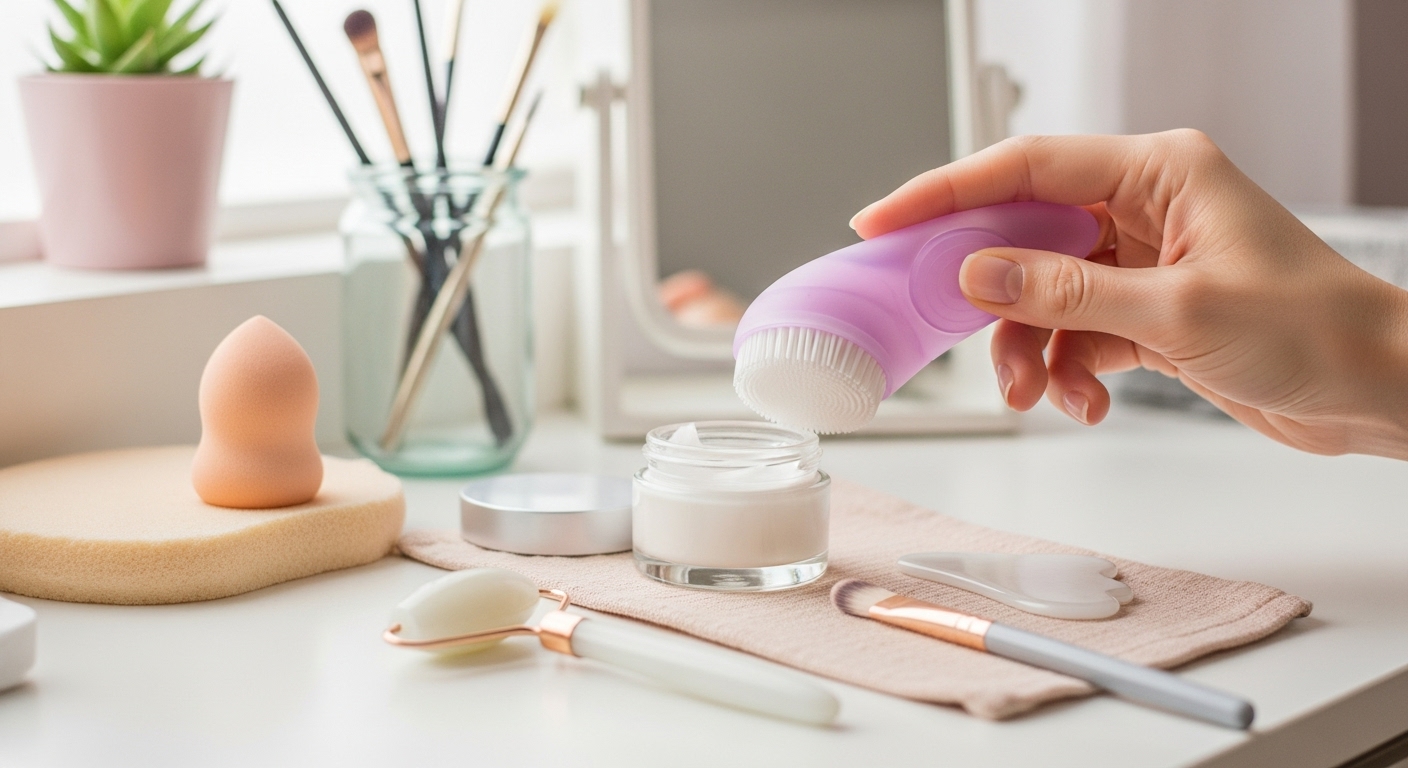
Silicone cleansing brushes are among the safest tools a beginner can own. Their soft tips do not scratch the skin, they are easy to wash, and they are gentle enough for daily use. They help lift away sunscreen residue, oil and dirt that hands alone can leave behind.
To use one: wet your face with lukewarm water, apply a gentle cleanser, and move the brush in small circles with light pressure. Let the tool do the work — do not press hard. It suits all skin types, including sensitive skin.
Soft manual facial brush
A soft-bristle brush cleans a little more deeply than silicone and can help skin that feels dull or rough. Choose soft bristles only — hard bristles can damage the skin barrier. Use it once a day at most, with light pressure and cleanser applied first. Do not use any brush on swollen, broken or irritated skin.
Washing is best done with lukewarm water and a gentle, non-abrasive, alcohol-free cleanser, using your fingertips for the actual washing and the brush as a light aid. Pat the skin dry — do not rub it.
Exfoliation pads and sponges
Exfoliation removes dead surface cells that make skin look dull and rough. Pads and sponges are the gentlest way to start: use them with cleanser and light pressure, once or twice a week. They suit people who find scrubs too harsh. Do not use exfoliation tools on irritated or broken skin, and do not exfoliate every day — over-exfoliation damages the barrier and makes skin more sensitive.
Face rollers
Face rollers are easy to learn: they glide across the skin, usually made of stone or metal. A cool roller can feel soothing and can temporarily reduce the look of puffiness. Use light pressure, roll upward and outward, and spend a little extra time on tense areas. A few minutes a day is enough. There is no good evidence that rollers drain lymph or firm skin — treat them as a pleasant, optional step, not a treatment.
Gua sha tools
A gua sha tool works more deeply than a roller and can help ease stiff areas. Start with a simple shape and slow movements, and always glide it over a facial oil or serum so it slips — never use it on dry skin. Gua sha must not be painful; it should feel soothing. There is no good evidence that gua sha drains lymph, firms skin or changes face shape.
Makeup tools: how to use each one for the first time
Makeup tools help you use less product and get a more even result. The right tool removes streaks, harsh lines and heavy patches.
Face brushes
You do not need a complete set. Two brushes cover the basics:
- One foundation brush or flat-top brush — for applying foundation evenly.
- One blush or powder brush — for blush and powder.
Use light, short strokes and build up slowly. It is easier to add a little more product than to remove too much. Clean brushes apply product more evenly than dirty ones, so washing matters as much as technique.
Eye brushes
Eye makeup needs only two brushes to start:
- One blending brush — for softening eyeshadow edges.
- One flat shader brush — for placing colour on the lid.
Use the flat brush to place the product, then the blending brush in small circular movements to soften the edges. Beginners often press too hard; a light hand gives a softer result.
Makeup sponges and blenders
Makeup sponges are easy to learn and hard to get wrong. They blend product naturally and prevent a heavy finish. Use them damp — a wet sponge applies foundation more evenly and removes excess product. Press and bounce the sponge lightly instead of dragging it across the skin. The most common beginner mistakes are using a dry sponge and pressing too hard.
Small tools that make a difference
A few cheap, simple tools are worth having from the start:
- Eyelash curler — opens up the eyes even without mascara. Curl before mascara, never after.
- Brow brush or spoolie — brushes brows into place and blends product naturally.
- Powder puff — helps set makeup without a cakey finish.
These tools need almost no skill, and they make a visible difference.
The order: skincare first, then makeup
Makeup sits best on skin that has been cleaned, moisturised and protected. The order is:
- Cleanse — lukewarm water, gentle cleanser, silicone brush if you use one.
- Moisturise — press moisturiser on with clean hands.
- Sunscreen — broad-spectrum SPF 30 or higher, as the last skincare step. Sunscreen is the single most effective anti-ageing step, and it goes on before makeup, not after.
- Makeup — foundation with a brush or damp sponge, then blush, powder, eyes and brows.
Skincare tools belong in steps 1 and 2. A face roller fits between moisturiser and sunscreen, for one or two minutes, if you want it. Makeup tools belong in step 4. Never put tools on top of sunscreen — sunscreen is the final skincare layer, and tools used over it can disturb it.
Your first week: a morning and evening routine
A routine that is short and repeatable will last. Ten to fifteen minutes is enough.
Morning. Wash your face with a silicone cleansing brush and a gentle cleanser. Moisturise. If your face looks puffy, use a face roller for one to two minutes. Apply sunscreen — broad-spectrum SPF 30 or higher. Then makeup: a damp sponge or foundation brush, light strokes, and a brow brush or eyelash curler to finish. Keep it simple; a short routine done every day beats a long routine done once.
Evening. Remove makeup thoroughly first — cleansing brushes help remove residue that hands leave behind, but be gentle around the eyes. Cleanse again, then apply your skincare products. If you have a roller or gua sha tool, this is the time for it, moving slowly over a serum or oil. Exfoliation fits here, once or twice a week — not every night. Evening routines should be calm; stress shows on the skin.
Choosing tools by skin type
The right tool depends on the skin it is used on.
- Sensitive skin: silicone tools and soft brushes. Avoid harsh exfoliation and strong pressure. Use the smallest amount of stimulation that does the job, and reduce how often you use a tool if the skin stays red for more than an hour afterwards.
- Oily skin: thorough but gentle cleansing helps. Avoid aggressive exfoliation. Clean tools after every use, because bacteria build up faster on oily skin. Whether harsh cleansing increases oil production is disputed, not proven — the reason to stay gentle is to protect the skin barrier.
- Dry skin: massage tools help when used with a lubricating oil or serum so the tool glides. Follow with a rich moisturiser. Do not brush or scratch dry skin — always use a product first so there is slip.
- Mature skin: gentle massage can help skin look more relaxed. Do not use heavy pressure — older skin is thinner and bruises more easily. Keep the routine short and calm.
How often is enough
Using a tool more often does not make it work faster.
- Cleansing tools: daily, as long as the skin stays calm.
- Exfoliation tools: once or twice a week; less for sensitive skin.
- Massage tools: daily or every other day, depending on sensitivity.
- Makeup brushes and sponges: every time you apply makeup — but they must be cleaned regularly.
Rest days matter. If your skin feels sore, tight or irritated, put the tools aside and go back to the basics. A routine with rest built in works better than one that never stops.
Cleaning and caring for your tools
Dirty tools cause breakouts, uneven makeup and skin irritation — and they wear out faster.
- Silicone brushes and rollers: wash with mild soap and warm water, rinse well, and air-dry out of direct sunlight. Do not dry them in the sun — heat and UV degrade bristles and silicone over time.
- Soft-bristle brushes: rinse after use, wash with mild soap regularly, and let them dry fully before storing.
- Gua sha and massage stones: wipe clean after use and store dry. Do not soak them for long periods.
- Makeup brushes: clean at least once a week if you use them daily. Rub a little brush soap or gentle cleanser through the bristles, rinse until the water runs clear, reshape, and air-dry.
- Makeup sponges: wash more often than brushes — after every few uses at least, and more often if you use them daily. Replace them when they tear or stop springing back.
Clean tools take care of your skin immediately and make your makeup look better.
Mistakes beginners make, and how to avoid them
- Using too many tools at once. Beginners often buy many tools and use them all in one routine. That overwhelms the skin and makes it hard to tell what helps. Choose a few tools, learn them, and only then add something new.
- Pressing too hard. More pressure does not make a tool work better. It causes pain and redness. If your skin is still red an hour after using a tool, you are pressing too hard. Light pressure works better in the long term.
- Skipping tool cleaning. Cleaning is one of the fastest ways to protect your progress. Set a simple schedule — for example, wash brushes on the same day each week — and it becomes a habit.
- Expecting fast results. Beginners often compare themselves with advanced users or influencers. Real improvement shows first as smoother skin, easier makeup blending and fewer bad makeup days. Small wins matter; give the routine a few weeks.
Budget and upgrading
Good tools do not have to be expensive. Focus on a few good essentials rather than a large cheap set. Read reviews that mention long-term use, not first impressions. Avoid tools that promise dramatic results in a short time — beginner tools should make learning easier, not put pressure on you.
Replace a tool when it is worn out or stops working well. Upgrade one tool at a time, once your skin is stable and you know what your routine needs — for example, a better brush once applying makeup feels easy, or a gua sha stone once massage feels comfortable. Upgrade because you have outgrown a tool, not because a new one looks exciting.
Patch test first
Before you use a new product on your face — including any product used with a tool, such as a cleanser with a brush or a serum with a roller — patch test it. Apply a small amount to a quarter-sized patch of skin on the inside of your arm or the bend of your elbow, twice a day, for 7 to 10 days. If there is redness, itching or swelling, do not use it on your face. A short test of a day or two can miss a reaction that takes several days to appear.
Frequently asked questions
Do beginners really need beauty tools?
Yes — a few simple ones. Tools help you clean more effectively, apply makeup more evenly, and use less product. They are not required, but they make a routine easier to learn and easier to keep.
How many tools does a beginner need to start?
A small kit is enough: a cleansing brush, an exfoliation pad, a face roller, two or three makeup brushes and one sponge. Add more only when the basics feel easy.
Will beginner tools damage my skin or makeup?
User-friendly tools are not dangerous when handled carefully and kept clean. Problems come from pressing too hard or using dirty tools — both are easy to avoid.
How often should beginners clean their tools?
Skincare tools should be rinsed after use and washed with mild soap regularly. Makeup brushes should be cleaned at least once a week, and sponges more often, especially when used daily.
When should I upgrade my tools?
Once you are comfortable with your routine and know what your skin and makeup need. There is no hurry — a small, well-used kit works better than a drawer of unused tools.
When to get help
See a clinician promptly if you have a rash, blisters or open sores; swelling that lasts more than a day or two; pain or vision changes near the eyes; or a reaction to a new product or tool that does not settle after you stop using it. If a skin concern persists despite a steady routine, a dermatologist can identify causes a routine alone will not fix.
The bottom line
Starting with beauty tools should make skincare and makeup easier, not more complicated. A small kit, used lightly and regularly, teaches you how your skin responds and how makeup behaves — and that knowledge is what makes the routine work. Be patient, keep your tools clean, and let the habit grow with you. You do not need many tools. A few good ones, used well, will do more than a drawer full of unused products.
Sources: American Academy of Dermatology, 7 Rosacea skin care tips (patch-test method: apply a new product to a quarter-sized patch of skin on the inside of the arm for 7–10 days); American Academy of Dermatology, How to select anti-aging skin care products (broad-spectrum sunscreen, SPF 30 or higher). This is a researched overview, not a hands-on review.