
Researched overview. This guide is based on published dermatology and eye-care guidance, not on hands-on product testing by BeautyKob. No product in this guide was tested by us, and no brand is recommended.
Table Of Content
- Quick answer
- Key takeaways
- How to prepare your skin before makeup
- Cleanse gently
- Moisturise according to your skin type
- Apply sunscreen
- The right order to apply makeup for beginners
- Step-by-step foundation application
- Choosing the right formula
- Finding your shade
- Blending technique
- How to apply concealer the right way
- Covering blemishes
- Brightening under-eye circles
- Setting your concealer
- Adding colour: blush, bronzer, and highlighter
- Blush
- Bronzer
- Highlighter (optional)
- Eye makeup for beginners step by step
- Eyebrows
- Eyeshadow (keep it simple)
- Mascara
- Eyeliner (optional)
- Finishing your look: lips
- Beginner-friendly lip products
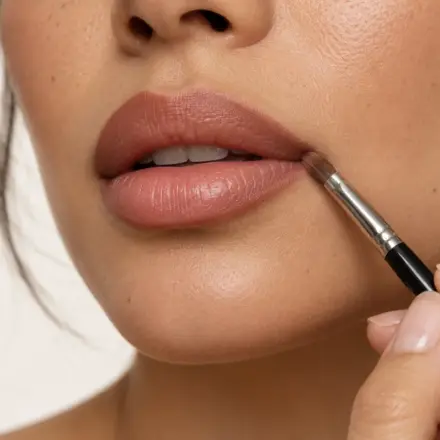
- How to apply lipstick neatly
- Common beginner makeup mistakes (and how to fix them)
- Essential makeup tools you actually need
- How to make your makeup last all day
- Patch test
- Frequently asked questions
- Summary
Quick answer
Learning makeup does not require a professional kit or years of practice — it takes a clear plan and a willingness to practise. The short version: prepare the skin first (cleanse, moisturise, sunscreen), use few products, apply them in the right order, start with a small amount of each, and blend well.
If your skin is red, sore, or has open sores, a rash, or an eye infection, skip makeup on the affected area and ask a dermatologist or pharmacist first. Stop using any product that stings, burns, or causes redness or swelling. This guide is general information, not medical advice.
Contents: Key takeaways · How to prepare your skin before makeup · The right order · Step-by-step foundation · Concealer · Blush, bronzer, and highlighter · Eye makeup · Lips · Common beginner mistakes · Essential tools · How to make makeup last · Patch test · FAQ
Key takeaways
- Skincare comes first. Cleansing and moisturising your face before makeup is the single most important step for a smooth, long-lasting result.
- You don’t need many products. A tinted moisturiser, concealer, mascara, blush, and a lip colour can create a polished everyday look.
- Application order matters. Applying products in the right sequence prevents muddy textures and wasted product.
- Less is more, then build. Start with a small amount of every product and add layers only where you need extra coverage.
- Match your foundation to your jawline in natural light. This avoids the most common beginner mistake — an obvious colour mismatch between your face and neck.
How to prepare your skin before makeup
Before picking up a single brush, the skin needs a clean, hydrated base. Skipping skin prep is the number-one reason makeup looks patchy, separates within hours, or clings to dry spots.
Cleanse gently
Wash your face with a gentle, fragrance-free cleanser. Nothing fancy is needed — just something that removes overnight oil and impurities without stripping your skin. Harsh scrubs and exfoliating washes right before makeup can cause irritation and flaking that shows through your base.
Moisturise according to your skin type
Apply a moisturiser suited to your skin. If your skin tends to be oily, a lightweight gel-cream works well. If it is dry, a richer cream helps create a smoother surface for makeup. One detail most beginner tutorials skip: wait three to five minutes after moisturising before applying any makeup. Layering products onto wet skincare makes everything pill and slide around.
Apply sunscreen
This step is non-negotiable for your skin’s long-term health. Use a broad-spectrum sunscreen with SPF 30 or higher. If you have sensitive or acne-prone skin, mineral sunscreens (zinc oxide or titanium dioxide) tend to cause less irritation. Let the sunscreen settle fully before moving to the next step, and reapply every two hours when outdoors.
The right order to apply makeup for beginners
One of the first questions every beginner asks is: what goes on first? The order products are applied affects how well they blend, how natural they look, and how long they last. Here is the sequence:
- Skincare (cleanser, moisturiser, SPF)
- Primer (optional)
- Foundation or tinted moisturiser
- Concealer
- Setting powder (light dusting)
- Blush and bronzer
- Eyebrows
- Eyeshadow
- Eyeliner (optional)
- Mascara
- Lips
- Setting spray (optional)
You don’t need to use every product on this list every day. A perfectly good beginner routine can include just steps 1, 3, 4, 6, 10, and 11. The key is keeping the order consistent so products layer properly.
Step-by-step foundation application
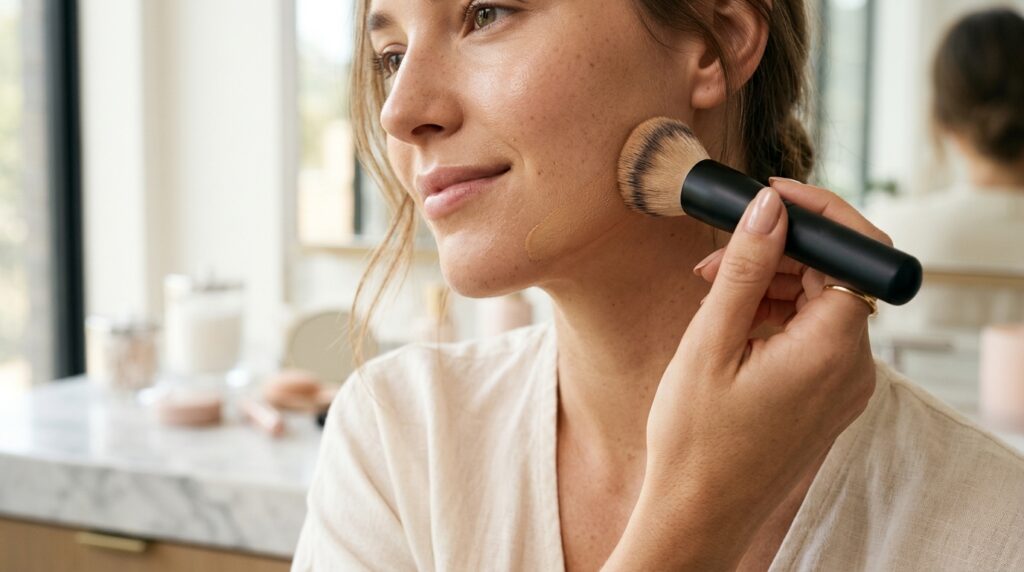 Foundation is where most beginners either overthink or go overboard. The goal is not to cover every inch of your face — it is to even out your skin tone so you look like yourself on a good skin day.
Choosing the right formula
If you are just starting out, skip heavy, full-coverage matte foundations. They are harder to blend and more likely to look cakey. Instead, try one of these beginner-friendly options:
- Tinted moisturiser: The lightest coverage. Evens out tone while feeling like skincare.
- BB cream: Slightly more coverage than a tinted moisturiser, often with added SPF.
- Light-to-medium coverage liquid foundation: Buildable, forgiving, and available in a wide shade range.
Finding your shade
This trips up almost everyone at first. The trick is to swatch foundation on your jawline — not the back of your hand — in natural daylight. The right shade should blend into your skin and disappear. If you are between two shades, swatch both on the jawline and pick the one that disappears; do not guess from the bottle.
Your undertone matters too. A rough guide many people use: gold jewellery tends to suit warm undertones, silver tends to suit cool undertones, and if both look fine, you are likely neutral. It is a rough guide, not a test — the jawline swatch in daylight is what decides the match.
Blending technique
Dot a small amount of product on your forehead, cheeks, nose, and chin. Then blend outward from the center of your face using one of these tools:
- Damp makeup sponge: Dampen it thoroughly and squeeze out excess water. Bounce (don’t drag) the sponge over the product. This gives the most natural, skin-like finish.
- Foundation brush: Use gentle buffing motions in small circles. Follow up by pressing lightly with a damp sponge to smooth out any brush streaks.
- Clean fingertips: Your body heat helps the product melt into skin. This works especially well with tinted moisturisers and BB creams.
Common mistake: Pumping out a large amount of foundation and spreading it everywhere. Always start with a dime-sized amount. You can add more to specific areas that need it.
How to apply concealer the right way
Concealer does targeted work that foundation can’t. Use it in two places: directly on blemishes and under your eyes.
Covering blemishes
Pick a concealer that matches your skin tone exactly. Dab a tiny amount directly on the blemish and gently tap it in with your ring finger or a small brush. Don’t rub — rubbing moves the product off the spot you are trying to cover.
Brightening under-eye circles
For dark circles, choose a concealer one shade lighter than your skin tone. Apply it in an upside-down triangle shape beneath each eye, then blend by tapping gently with your ring finger. Your ring finger naturally applies the least pressure, which is important because the under-eye skin is delicate and easily irritated.
Setting your concealer
Lightly dust a small amount of translucent setting powder under each eye and over any blemishes you concealed. This prevents creasing and helps the coverage last. Don’t overdo it — too much powder looks dry and emphasises fine lines.
Adding colour: blush, bronzer, and highlighter
Once your base is set, it is time to add warmth and dimension back to your face. Foundation evens out your skin, but it can also flatten your natural contours. Blush and bronzer fix that.
Blush
Cream blush is the most forgiving option for beginners. It blends with your fingers and is much more forgiving than powder blush. Smile lightly, then tap a pea-sized amount onto the apples of your cheeks and blend upward toward your temples.
If you prefer powder blush, use a fluffy brush, tap off excess product, and apply in light layers. It is easier to add more than to remove too much.
Bronzer
Bronzer adds warmth to the areas where the sun would naturally hit: your forehead along the hairline, the hollows of your cheeks, the bridge of your nose, and your jawline. Use a large fluffy brush and blend well — harsh bronzer lines are one of the most obvious beginner mistakes.
Highlighter (optional)
A light touch of highlighter on the tops of your cheekbones, the bridge of your nose, and your cupid’s bow adds a natural glow. For beginners, a cream or liquid highlighter blends more naturally than a glittery powder.
Eye makeup for beginners step by step
Eye makeup is where many beginners feel most intimidated. The good news is you don’t need an elaborate eyeshadow look to make your eyes stand out.
Mascara is the single most transformative eye makeup product for beginners.
Eyebrows
Your brows frame your entire face, so even a little grooming makes a difference. For a natural look, use a tinted brow gel or a fine-tipped brow pencil. Brush through your existing hairs and fill in only the sparse gaps with short, hair-like strokes. Avoid drawing heavy, blocky lines — your brows should look enhanced, not drawn on.
Eyeshadow (keep it simple)
You don’t need a 20-shade palette for a beautiful everyday eye. Here is a beginner-friendly approach:
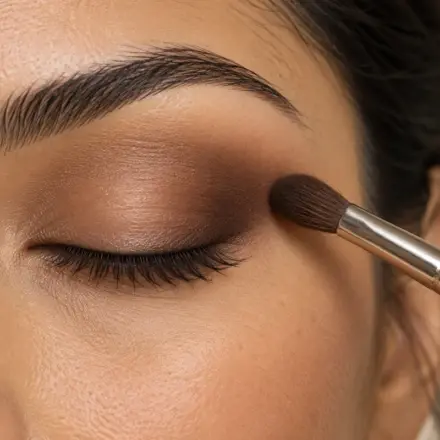
- Base shade: Swipe a matte neutral colour (similar to your skin tone or slightly lighter) across your entire eyelid to even things out.
- Crease shade: Use a slightly deeper neutral shade — a soft brown, taupe, or warm peach — in the crease of your eye. Blend in small windshield-wiper motions with a fluffy blending brush.
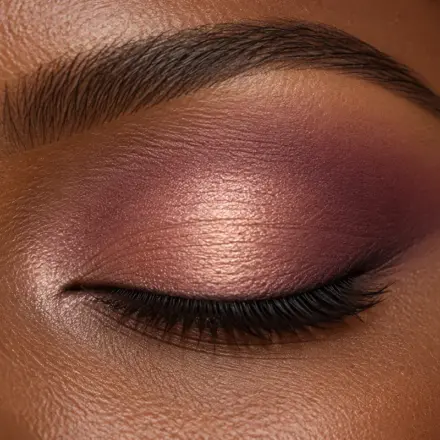
- Lid shade (optional): Pat a satin or shimmer shade onto the center of your lid for a bit of dimension.
That’s it. Three shades maximum, blended well, gives you a polished eye that takes less than five minutes.
Mascara
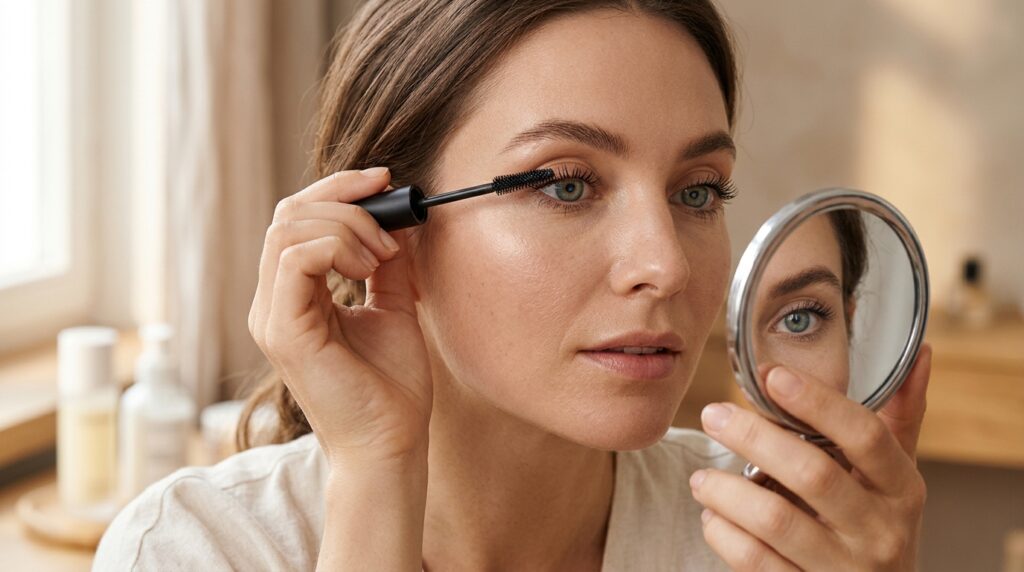 If you only use one eye makeup product, make it mascara. It instantly opens up your eyes and makes you look more awake. Here’s how to apply it without clumps:
- Wiggle the wand at the base of your upper lashes.
- Slowly pull it upward through the lashes in a zigzag motion.
- Apply one to two coats — let the first coat dry for about 30 seconds before adding a second.
- For the lower lashes, hold the wand vertically and gently swipe the tip across each lash.
Tip: If your mascara clumps, your formula may be old. Mascara should be replaced about every three months after opening: the FDA advises discarding mascara about three months after purchase, and the American Academy of Ophthalmology recommends throwing away eye makeup after three months, because bacteria build up in the tube with every use. Discard it immediately after an eye infection, and never add water or saliva to revive a dried-out tube.
Eyeliner (optional)
For beginners, a soft pencil liner or a felt-tip pen liner in brown (rather than black) is the easiest starting point. Line your upper lash line as close to the lashes as possible using short dashes rather than one long stroke. This creates subtle definition without the pressure of drawing a perfect wing on your first try.
Finishing your look: lips
Your lip colour ties the whole look together, and it is the easiest step for beginners because it requires almost no technique.
A hydrating lipstick or tinted lip balm is the easiest way to finish a beginner makeup look.
Beginner-friendly lip products
- Tinted lip balm: Adds a hint of colour while keeping your lips moisturised. Zero precision required.
- Lip oil: Provides a glossy, nourishing finish with light colour. Very forgiving.
- Sheer lipstick: Gives you more colour payoff than a balm but is still easy to apply without a mirror.
- Lip gloss: Adds shine and a touch of colour. Works great on its own or over another lip product.
How to apply lipstick neatly
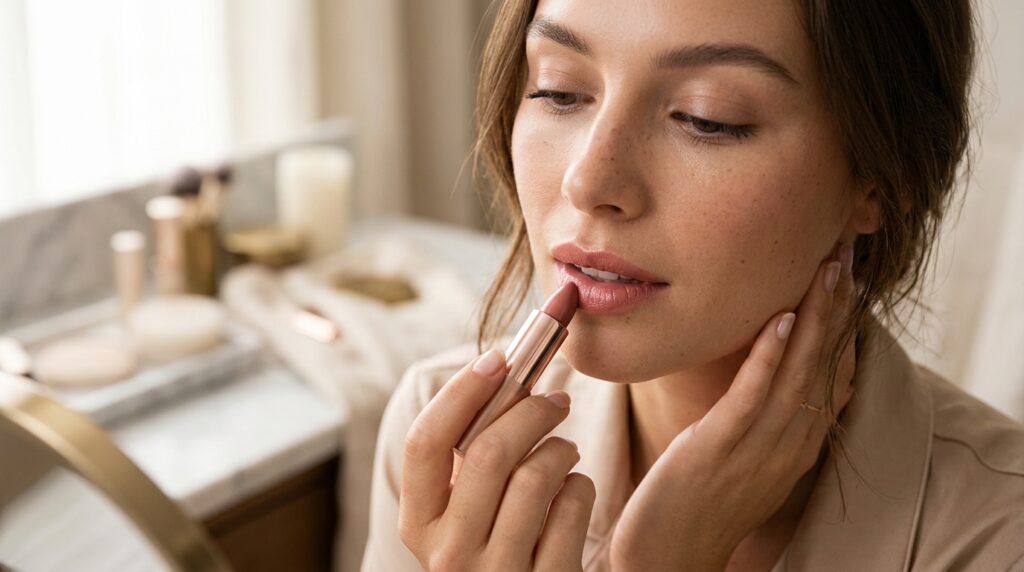 If you want a more defined lip, start from the center of your upper lip (the cupid’s bow) and work outward toward the corners. Do the same for the lower lip. Blot once on a tissue, then apply a second layer for longer-lasting colour.
You don’t need lip liner for an everyday look, but if your lipstick tends to bleed or feather, a clear or matching lip liner around the edges helps keep things clean.
Common beginner makeup mistakes (and how to fix them)
Everyone makes mistakes when learning. These are the ones that come up most often, along with easy fixes:
Matching foundation to your hand. Your hand and your face are almost always different shades. Always swatch on your jawline in natural light.
Applying too much product at once. Every product — foundation, blush, eyeshadow — looks better when you start with a tiny amount and build up. It is much harder to remove excess than to add more.
Skipping blending. Harsh lines between your foundation and your neck, between your eyeshadow colours, or between your bronzer and your skin are the most obvious sign of heavy makeup. Always blend edges.
Using dirty brushes and sponges. Bacteria, oil, and old product build up on your tools and transfer back onto your skin. This can lead to breakouts and uneven application. Wash your brushes and sponges at least once a week with gentle soap or baby shampoo, and let them dry fully before use.
Sleeping in makeup. This traps dirt, oil, and pollution against your skin, which can cause clogged pores and dull skin over time. Always remove your makeup before bed — a micellar water or cleansing balm makes it quick and easy. Follow with your regular gentle cleanser.
Essential makeup tools you actually need
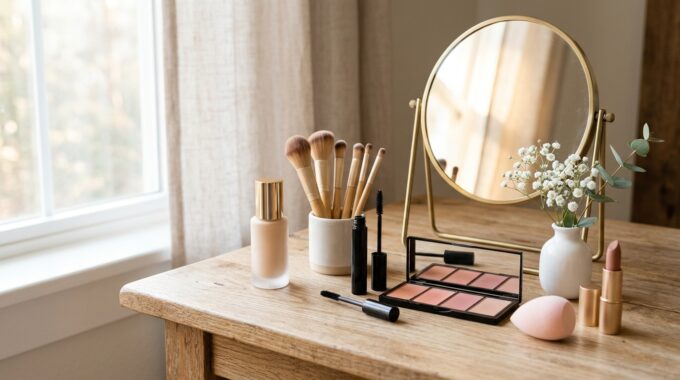
You don’t need a 30-piece brush set to start. Here’s what is genuinely useful:
- A damp makeup sponge for blending foundation and concealer
- A fluffy powder brush for setting powder, blush, and bronzer
- A small concealer brush (optional — your ring finger works too)
- A fluffy eyeshadow blending brush for crease work
- A flat eyeshadow brush for packing colour onto the lid
- A spoolie for blending brow product (most brow pencils include one)
- A good mirror with natural light, or a magnifying mirror for detail work
Invest in decent tools and keep them clean. Cheap, scratchy brushes make application harder and can irritate your skin. Never share eye makeup or applicators with anyone else.
How to make your makeup last all day
A beautiful application doesn’t help much if everything slides off by lunchtime. A few habits make a real difference:
Let your skincare settle. Waiting three to five minutes between moisturiser and makeup prevents pilling.
Use primer where you need it. If your T-zone gets oily, a mattifying primer on your forehead, nose, and chin helps. If your skin is dry, a hydrating primer gives your makeup something to grip.
Set with powder sparingly. A light dusting of translucent powder on your T-zone and under your eyes locks things in without looking heavy.
Finish with setting spray. A few spritzes of setting spray help the layers sit together and create a more natural finish. It can also help your makeup hold up in heat and humidity, though no spray makes makeup last indefinitely.
Carry blotting papers. If you get oily throughout the day, blotting papers absorb excess oil without disturbing your makeup. They are more effective than powdering over an already oily face.
Patch test
Before using a new makeup product more widely, patch test it: apply a small amount to the underside of your arm or the bend of your elbow, twice a day, for 7 to 10 days. If you get redness, itching, swelling or a rash, do not use it on your face. A 24-hour test can miss an allergic reaction, which often takes several days to appear — that is why this guide uses the AAD 7–10 day patch-test method. This is the American Academy of Dermatology’s patch-test method.
Be extra careful with products used around the eyes: if an eye product stings, waters, or reddens your eyes, stop using it and do not try to “get used to it”. If you wear contact lenses, put them in before applying eye makeup, and remove makeup fully before taking lenses out at night.
Frequently asked questions
What is the best makeup for beginners who have never worn makeup before?
Start with a tinted moisturiser or BB cream, a concealer, mascara, a cream blush, and a tinted lip balm. These products are easy to apply, forgiving if you make mistakes, and give you a natural, polished look without requiring advanced technique.
What order should I apply my makeup in?
The general order is: skincare, primer (optional), foundation or tinted moisturiser, concealer, setting powder, blush and bronzer, eyebrows, eyeshadow, mascara, lips, and setting spray. Following this order prevents you from accidentally smudging or layering products incorrectly.
How do I find the right foundation shade?
Swatch two or three shades along your jawline in natural daylight — not indoor store lighting. The shade that disappears into your skin without leaving a visible line is your match. Also determine your undertone (warm, cool, or neutral) so the foundation doesn’t look too orange, pink, or grey on your skin.
How long should a beginner makeup routine take?
Once you have practised a few times, a simple everyday routine — skincare, base, concealer, blush, mascara, and lips — can take as little as ten to fifteen minutes. More detailed looks with eyeshadow and eyeliner might take twenty to thirty minutes as you are learning.
Do I need to remove my makeup every night?
Yes. Sleeping in makeup traps oil, dirt, and environmental pollutants against your skin, which can lead to clogged pores, breakouts, and dull skin over time. Use a micellar water or cleansing balm to dissolve your makeup, then follow with your regular gentle cleanser.
Summary
Learning how to apply makeup as a beginner really comes down to this: prep your skin, keep your product list short, apply everything in the right order, and blend well. You don’t need expensive products or a hundred tutorials to create a look you feel good in. Start with the basics — a skin-evening base, mascara, blush, and a lip colour — and add complexity only when you are comfortable. The most important thing is practice, not perfection. No product in this guide was tested by us, and no brand is recommended.
Sources: AAD sunscreen guidance (broad-spectrum SPF 30 or higher, reapply every two hours outdoors); AAD patch-test method; AAD guidance on face washing (lukewarm water, gentle cleanser, pat dry); FDA guidance on eye cosmetics (discard mascara about three months after purchase; never add water or saliva to dried mascara); American Academy of Ophthalmology guidance on eye makeup (discard eye makeup after three months; remove eye makeup before sleeping). This is a researched overview, not a hands-on review.