

Researched overview. This guide is based on published dermatology and eye-care guidance, not on hands-on product testing by BeautyKob. No product in this guide was tested by us, and no brand is recommended.
Table Of Content
- Quick answer
- Understanding why oily skin breaks down makeup
- Prepping oily skin before makeup
- Step 1: Cleanse with a gentle formula
- Step 2: Balance tone and manage pores
- Step 3: Hydrate with an oil-free gel
- Step 4: Sunscreen that dries to a matte finish
- Step 5: Strategic primer placement
- Choosing the right foundation for oily skin
- What to look for on the label
- The application technique that prevents slipping
- Strategic concealing for blemish and under-eye longevity
- Blemish concealing without slippage
- Keeping under-eyes fresh
- Setting techniques that lock makeup in place
- The powder step: master the press-and-roll technique
- To bake or not to bake?
- Setting sprays: the final step
- Eye and brow longevity on oily lids
- Midday maintenance: how to prevent makeup from getting greasy
- Rule number one: blot first, always
- Rule number two: use pressed powder sparingly
- Step-by-step routine: makeup for oily skin that lasts longer
- Common mistakes that ruin makeup longevity
- Patch test
- Summary
- FAQ
- Q1: Can people with oily skin use dewy foundations?
- Q2: How many times a day should I blot my face?
- Q3: Why does my foundation separate around my nose?
- Q4: Does setting spray really make a difference for oily skin?
- Q5: Should I use loose powder or pressed powder for oily skin?
Quick answer
Oily skin breaks makeup down because sebum mixes with foundation, loosens pigment, and makes base products pool in pores or slide off high-friction areas like the nose and chin. No routine can guarantee makeup stays perfect all day — wear time varies by skin, weather and activity. What does help is a short chain: gentle prep, a light oil-free base applied in thin layers, powder pressed into oily zones, a setting spray to help hold it, and blotting before any midday powder.
One myth to drop first: there is no good evidence that skin “produces more oil” to compensate for washing or drying products. Over-washing and skipping moisturiser are still bad ideas — because they irritate and dry the skin, not because of rebound oil.
If your skin is red, sore, or has open sores or a rash, or if acne is painful, deep or cystic, ask a dermatologist or pharmacist before using any active. This guide is general information, not medical advice.
Contents: Why oily skin breaks down makeup · Prepping oily skin before makeup · Choosing the right foundation · Application technique · Concealing · Setting techniques · Eye and brow longevity · Midday maintenance · Step-by-step routine · Common mistakes · Patch test · FAQ
Understanding why oily skin breaks down makeup
Your skin naturally produces sebum through sebaceous glands, heavily concentrated across your forehead, nose, and chin — the T-zone. Sebum consists of triglycerides, squalene, wax esters, and free fatty acids. While sebum lubricates your skin barrier and shields it from environmental stressors, it also mixes with makeup.
Most cosmetic formulations, even long-wearing ones, contain binders and emollients. When warm sebum mixes with the foundation base through the day, the oil loosens the pigment bonds, causing the product to pool in pores, gather in fine lines, or slide off high-friction areas like the bridge of your nose and chin.
Heat and humidity accelerate this process by triggering sweat, which adds water and salt into the mix. Hormonal fluctuations can also cause temporary spikes in sebum production. Because you cannot — and should not — stop your skin from producing healthy oil, your goal is to manage shine and slipping with thin layers and setting steps, not to block oil production.
Prepping oily skin before makeup
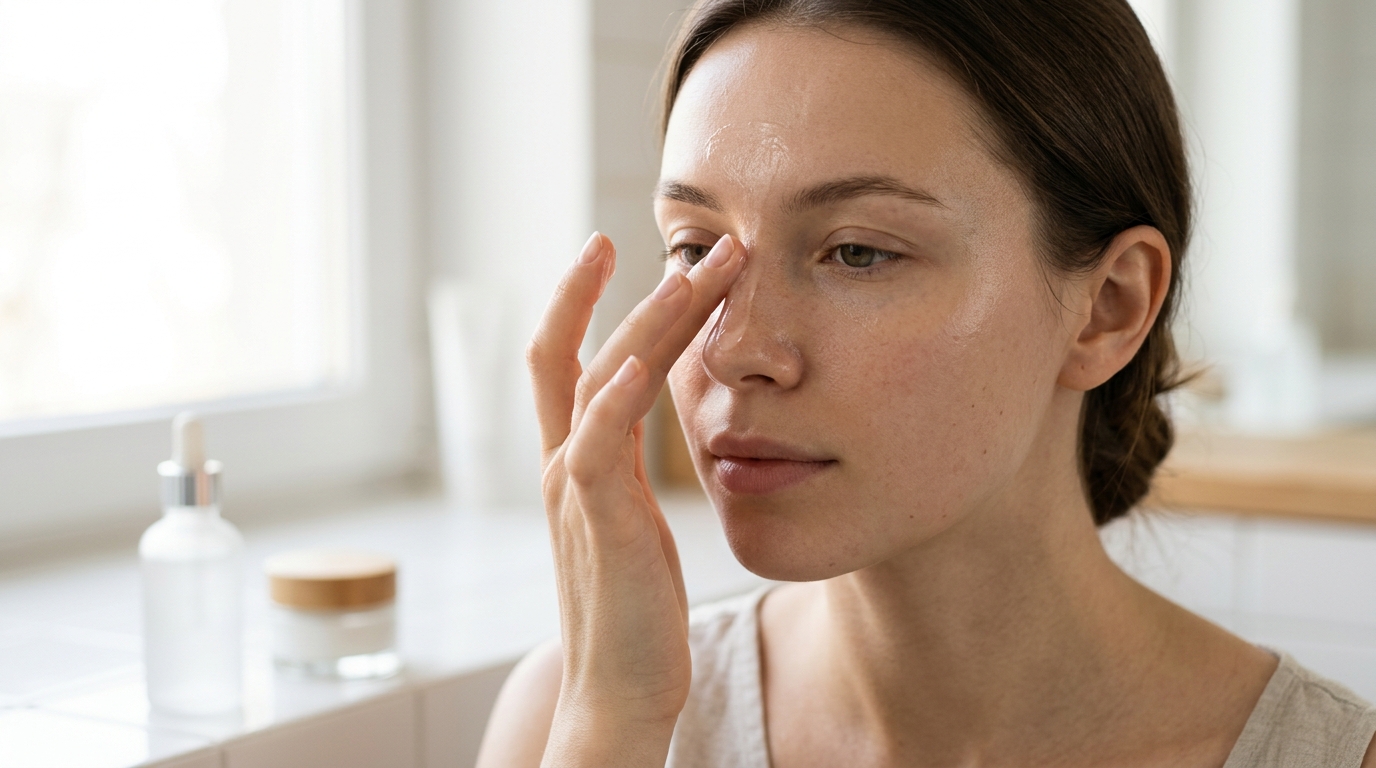
Proper skin preparation determines whether your foundation stays intact for hours or breaks apart quickly. If you apply makeup onto an oily or poorly prepped surface, no setting spray can save it.
Step 1: Cleanse with a gentle formula
Start your morning routine with a gentle foaming or gel-based cleanser. Avoid aggressive, stripping cleansers that leave your face feeling tight or squeaky — they irritate and dry the skin. Look for cleansers containing low concentrations of salicylic acid (a beta-hydroxy acid that penetrates into pore linings) or gentle amino-acid surfactants.
Rinse with lukewarm water. Hot water can irritate and dry the skin; cold water is less effective at removing overnight oil buildup.
Step 2: Balance tone and manage pores
After cleansing, pat your skin dry with a clean towel. If you use a toner, choose an alcohol-free formula with niacinamide. Niacinamide supports skin barrier function; the evidence for it reducing sebum is one study (Draelos et al. 2006 — 2% niacinamide reduced sebum excretion in Japanese subjects only, not significantly in Caucasian subjects). It does not “regulate” oil production.
Avoid toners loaded with denatured alcohol, as they provide a fleeting matte feeling at the cost of long-term dehydration. Witch hazel toners are astringent and can irritate — they are not needed for oily skin, and there is no good evidence witch hazel regulates sebum.
Step 3: Hydrate with an oil-free gel
Skipping moisturiser is one of the most common errors for people with shiny complexions. Oily skin still needs hydration — a dry, uncomfortable surface makes everything else harder, and dehydrated skin is more easily irritated.
Choose an oil-free, non-comedogenic gel or water-cream moisturiser formulated with humectants such as hyaluronic acid, glycerin, or sodium PCA. These ingredients draw water into skin without leaving an occlusive, oily film.
Apply a pea-sized amount evenly across your face and neck, then pause for at least two to three minutes. Allowing your skincare to settle is important; applying makeup over wet skincare causes pilling and sliding.
Step 4: Sunscreen that dries to a matte finish
Daily sun protection is non-negotiable for skin health and preventing post-inflammatory hyperpigmentation. However, many traditional sunscreens leave behind an emollient, greasy residue that ruins makeup adhesion.
Select a fluid sunscreen labelled “matte finish,” “dry touch,” or “oil-absorbing,” broad-spectrum SPF 30 or higher. Mineral sunscreens containing zinc oxide can feel soothing on oily complexions. Let the sunscreen set for a couple of minutes before proceeding to makeup, and reapply every two hours when outdoors. Note that the SPF in foundation is not a substitute for sunscreen on its own, because people apply far less foundation than the amount used in SPF testing.
Step 5: Strategic primer placement
A mattifying primer can help makeup sit better on oily areas. Rather than applying a heavy coat all over your face, apply primer strategically where oil gathers most.
Warm a dime-sized amount of a mattifying or pore-diffusing primer between your fingertips. Gently press — do not rub — the product into your T-zone, over your pores, and across your chin. Silicone-based primers can smooth texture and give foundation a more even surface to grip; they do not form a barrier that stops oil from reaching your foundation.
Choosing the right foundation for oily skin
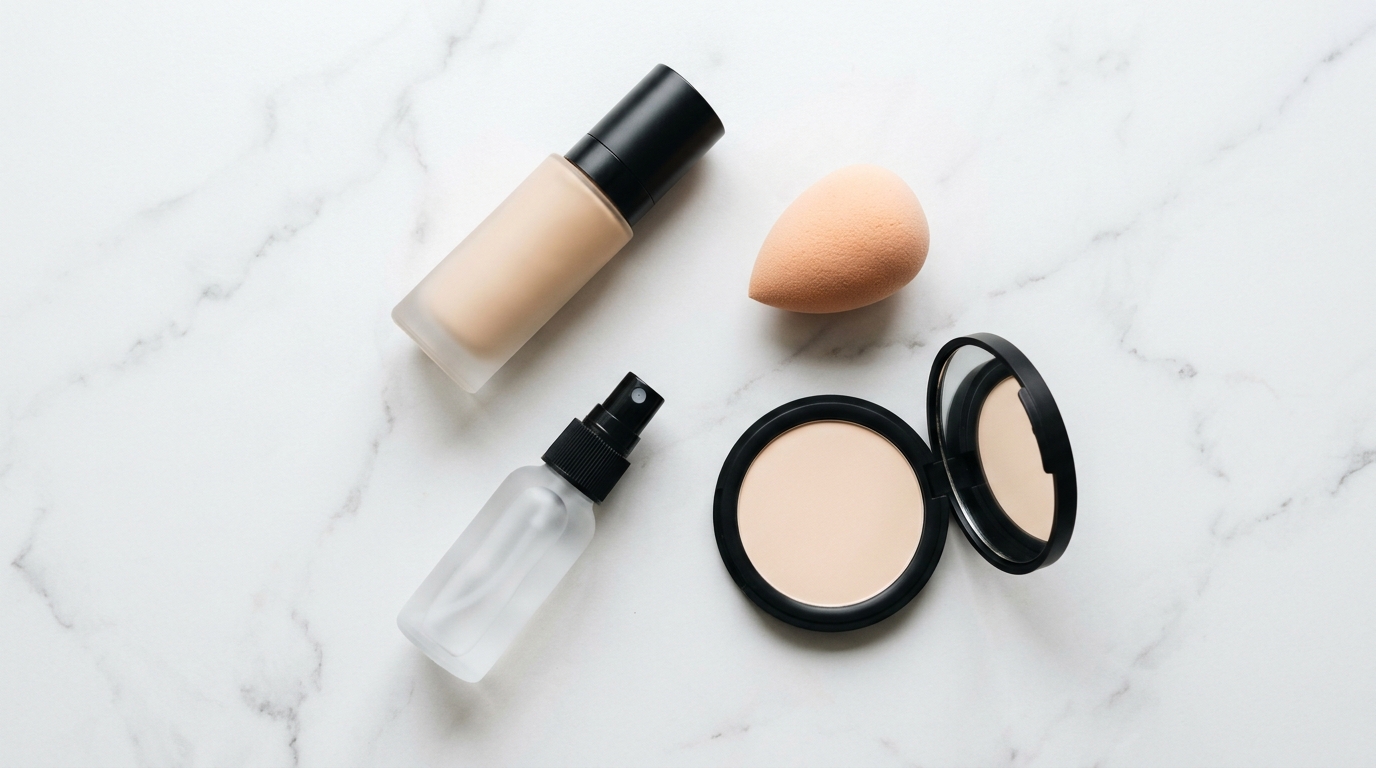
The foundation you select serves as the structural core of your entire makeup look. Picking a formula that complements rather than clashes with oily skin makes all the difference.
What to look for on the label
When shopping for foundation, look past marketing claims and check the ingredient structure and finish descriptions:
- Oil-free and non-comedogenic: The formula should not contain heavy plant oils, mineral oil, or synthetic esters that degrade matte wear. Note that “non-comedogenic” is not a regulated or standardised term — it is a manufacturer’s claim, not a guarantee a product will not clog pores.
- Matte or soft-matte finish: These formulas contain silica, clay (kaolin), or specialised polymers that absorb sebum throughout wear.
- Transfer-resistant and long-wear: Brands advertise wear times such as 12 or 24 hours. These are marketing claims, not measured guarantees — actual wear varies by skin, weather and activity. Flexible film formers in these formulas can help them move with facial expressions without cracking.
- Liquid vs. powder formulas: High-performance liquid foundations offer flexible, buildable coverage that resists separation. Mineral powder foundations are also an option for everyday wear because their mineral pigments absorb surface moisture and oil.
The application technique that prevents slipping
How you apply your base matters just as much as the bottle you buy:
- Dispense sparingly: Use one pump or less of liquid foundation on the back of your hand. Applying excess product creates a thick layer that cannot grip the skin.
- Use a damp makeup sponge: A damp blending sponge absorbs excess foundation and presses pigment directly onto the skin rather than painting it across the surface like a brush.
- Stipple, never drag: Use bouncing, stippling motions to press the foundation into your skin. Dragging or wiping motions disrupt the primer underneath and create streaks that break apart when oil surfaces.
- Build coverage incrementally: If you have redness or dark spots, layer a second thin veil only over those specific zones instead of coating your entire face in heavy pigment.
Strategic concealing for blemish and under-eye longevity
Concealer provides pinpoint coverage, but on oily skin, it can quickly migrate into fine lines or gather around active breakouts.
Blemish concealing without slippage
For pimples and post-acne marks, select a self-setting, oil-free cream or liquid concealer that matches your exact foundation shade. Pick up a tiny amount on a dense, fine-tipped synthetic brush and tap it directly onto the centre of the blemish.
Feather the edges outward with your fingertip or sponge, leaving the highest density of pigment over the mark. Let it sit untouched for thirty seconds before dusting with translucent powder to anchor it.
Keeping under-eyes fresh
Under-eye skin is naturally thinner and contains fewer oil glands than the rest of the face, but eye cream and foundation can cause under-eye concealer to crease.
Use a lightweight, hydrating concealer under the eyes rather than an overly drying matte formula that exaggerates fine lines. Apply two small dots at the inner corner and one at the outer corner, blend upward, and set immediately with a tiny amount of powder.
Setting techniques that lock makeup in place
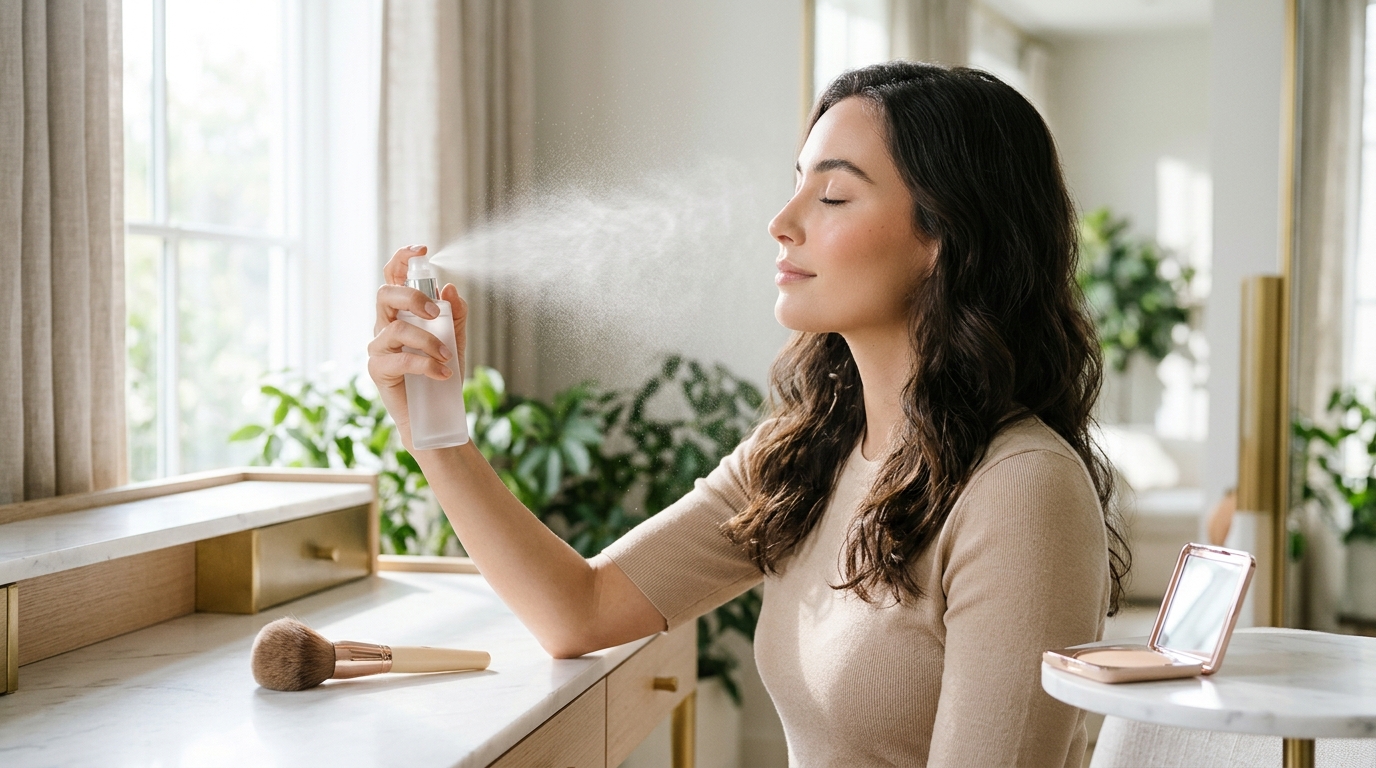
Setting is the defining step in preventing makeup from getting greasy. Without proper setting, even the best matte foundation will succumb to natural oils.
The powder step: master the press-and-roll technique
Many people sweep loose powder across their face with a large, fluffy brush. While this creates a light dusting, it merely rests powder on top of your liquid base without binding them together.
For better staying power, use a velour powder puff or a damp makeup sponge paired with finely milled translucent setting powder:
- Dip your powder puff into translucent loose powder.
- Work the powder into the fibres of the puff by massaging it against the back of your hand. This removes excess chunks and ensures an even distribution.
- Gently press and roll the puff against your skin, starting in the T-zone and moving outward.
- The rolling motion pushes the powder particles into the liquid foundation, helping the two layers hold together.
To bake or not to bake?
“Baking” involves packing a thick layer of loose powder onto areas prone to shine and letting it sit for five to ten minutes while body heat sets the foundation, after which the excess is swept away.
While baking creates an exceptionally durable matte finish for photography or long evenings, it can look dry, heavy, and textured in direct daylight. For everyday wear, targeted pressing and rolling delivers similar longevity with a far more natural, skin-like finish.
Setting sprays: the final step
Setting spray can help hold makeup in place. Look for sprays containing film-forming polymers like PVP (polyvinylpyrrolidone) or AMP-acrylates copolymer. These ingredients form a flexible, micro-thin film over your makeup that helps pigment stay put. They help; they do not create a waterproof or oil-proof shield, and setting spray alone cannot compensate for poor skin prep.
Hold the bottle eight to ten inches away from your face. Close your eyes and mist in an “X” formation followed by a “T” formation. Do not touch or fan your face while it dries. Allow the mist to evaporate naturally so the film formers set properly.
Eye and brow longevity on oily lids
Oily eyelids are a frequent cause of smudged eyeliner, creased shadow, and mascara flaking. Extending wear to your eye area requires dedicated attention.
- Always prime eyelids: Eye primers differ from face primers; they contain high concentrations of talc, isododecane, or silica designed to absorb sebum on delicate eyelid skin. Apply a tiny dot from lash line to brow bone before any shadow.
- Set with a skin-tone shadow: Before applying deeper shades, dust a sheer layer of translucent powder or an eyeshadow that matches your lid tone. This gives blending pigments an oil-free surface to glide over.
- Tubing mascara often holds up better: Traditional waterproof mascara resists water, but because it is formulated with waxes and oils, skin sebum can break it down, creating dark rings under the eyes. Tubing mascaras use polymers that wrap around each lash in water-soluble tubes; they often hold up better on oily lids, but they are not immune to oil and rubbing.
- Lock down brows: Brow pencils can melt when oil pools along the brow bone. Use a waterproof brow pomade or dust brow powder over pencil, then seal with a clear, stronghold brow gel.
Replace mascara regularly: the FDA advises discarding mascara about three months after purchase, and the American Academy of Ophthalmology recommends throwing away eye makeup after three months. Never add water or saliva to dried mascara, and never share eye makeup.
Midday maintenance: how to prevent makeup from getting greasy
Even the most thorough morning application will face oil breakthrough after six to eight hours. How you handle midday touch-ups determines whether your makeup remains presentable or becomes a cakey mess.
Rule number one: blot first, always
When your forehead or nose begins to shine around 2:00 PM, your instinct might be to reach straight for your compact powder. Resisting that urge matters. Applying powder directly onto liquid sebum creates a thick paste that clogs pores, settles into fine lines, and looks muddy.
Instead, pull out an oil-absorbing blotting sheet. Gently press the paper onto shiny areas, allowing the fibres to soak up the excess sebum. Lift straight up without wiping to leave your foundation undisturbed.
Rule number two: use pressed powder sparingly
After blotting away the surface oil, examine your skin. Often, blotting alone restores a pleasant soft-matte finish without adding any product. If you still need extra coverage or shine control, lightly press a translucent pressed powder onto the T-zone with a clean puff or small travel brush.
Step-by-step routine: makeup for oily skin that lasts longer
To help you put everything into action, here is your quick-reference morning checklist:
| Step | Action | Product type | Waiting time |
|---|---|---|---|
| 1. Cleanse | Wash with lukewarm water and pat dry | Gentle foaming cleanser with salicylic acid | None |
| 2. Tone | Apply with hands or pad to balance skin | Alcohol-free toner with niacinamide | 30 seconds |
| 3. Hydrate | Apply thin layer to replenish moisture | Oil-free gel moisturiser | 2 minutes |
| 4. Protect | Shield skin with broad-spectrum SPF 30+ | Mattifying fluid or mineral sunscreen | 2 minutes |
| 5. Prime | Press into T-zone and pores | Silicone-based mattifying primer | 1 minute |
| 6. Base | Stipple thin layer with damp sponge | Oil-free, long-wear liquid foundation | None |
| 7. Conceal | Pinpoint blemishes and under-eye | Matte, self-setting liquid concealer | 30 seconds |
| 8. Set | Press and roll into oily zones | Finely milled translucent loose powder | None |
| 9. Seal | Mist evenly in X and T pattern | Polymer-rich matte setting spray | 1 minute air-dry |
Common mistakes that ruin makeup longevity
- Over-exfoliating before makeup: Using harsh scrubs or high-percentage acids right before makeup application inflames the skin and causes uneven patchiness. Keep chemical exfoliants in your nighttime routine.
- Using dirty brushes and sponges: Sponges and brushes accumulate facial oils and old product. Applying fresh foundation with an oil-soaked tool introduces bacteria and reduces product adhesion. Wash your tools weekly.
- Touching your face throughout the day: Resting your chin in your hands or touching your nose transfers body heat and friction to your base, breaking down the setting seal.
- Layering too many powders: Applying powder foundation over heavy liquid foundation followed by thick setting powder creates an inflexible shell that cracks as your facial muscles move.
Patch test
Before using a new makeup or skincare product more widely, patch test it: apply a small amount to the underside of your arm or the bend of your elbow, twice a day, for 7 to 10 days. If you get redness, itching, swelling or a rash, stop using it. A 24-hour test can miss an allergic reaction, which often takes several days to appear — that is why this guide uses the AAD 7–10 day patch-test method. This is the American Academy of Dermatology’s patch-test method.
Summary
Making makeup last longer on oily skin is not about fighting your skin or stripping away every drop of moisture. It is about strategic layering, using compatible formulas, and sealing your base with powder and setting spray.
When you balance hydration, use a primer where oil gathers, apply foundation in lightweight stippled layers, and anchor everything with powder and setting spray, your makeup will hold up noticeably longer. Try the routine for a week and judge it by how your makeup looks at the end of the day — not by a promise of all-day perfection. No product in this guide was tested by us, and no brand is recommended.
FAQ
Q1: Can people with oily skin use dewy foundations?
Dewy foundations contain high concentrations of oils and light-reflecting emollients that break down rapidly when mixed with natural sebum. If you prefer a radiant finish over a completely matte look, choose a satin-finish, oil-free foundation, apply a mattifying primer to your T-zone, and add liquid or powder highlighter exclusively to the high points of your cheekbones.
Q2: How many times a day should I blot my face?
Most people with oily skin find that blotting once or twice during an eight-to-ten-hour workday is enough — typically once around lunchtime and once in late afternoon. Blotting too frequently can cause mechanical friction and irritate the skin, so reserve blotting sheets for when visible shine begins to break through.
Q3: Why does my foundation separate around my nose?
The crevices of the nose have a high density of active sebaceous glands and experience constant micro-movements from breathing and facial expressions. Foundation often separates here because too much product is applied. Keep foundation around the nostrils minimal, use an eye primer or mattifying primer on the sides of the nose, and set firmly with translucent powder.
Q4: Does setting spray really make a difference for oily skin?
Setting sprays with film-forming polymers (such as PVP) can help hold powder and liquid layers together, and they do extend wear for many people. But setting spray alone cannot compensate for poor skin prep — it works as the final step after powder, not as a replacement for it. It does not create a waterproof or oil-proof shield.
Q5: Should I use loose powder or pressed powder for oily skin?
Loose translucent powder is best for your initial morning application because its micro-fine texture absorbs oil and locks foundation into place without adding excess pigment or weight. Pressed powder contains binding agents that make it less absorbent for initial setting, but it is much more portable and mess-free for light midday touch-ups.
Sources: AAD sunscreen guidance (broad-spectrum SPF 30 or higher, reapply every two hours outdoors); AAD patch-test method; Draelos et al. 2006 (niacinamide 2% and sebum excretion, PMID 16766489); FDA guidance on eye cosmetics (discard mascara about three months after purchase; never add water or saliva to dried mascara); American Academy of Ophthalmology guidance on eye makeup (discard eye makeup after three months). This is a researched overview, not a hands-on review.